everyday food made simple

While I was growing up, my parents valued sitting at the table together to eat dinner as a family. We didn’t get to pull up a chair and sit in front of the TV to watch cartoons during dinner time, we didn’t get to be on our cell phones at the table (we didn’t own cell phones), we didn’t eat on the run, and no matter how busy they were, they always made sure at least one of them ate with us.

In today’s society, fast food restaurants, take out, and eating on the go are often popular options when it comes to meal time. I’m not saying that there’s anything wrong with that – heck, eating out every once in a while is pretty dang good and I love trying out new restaurants.

However, I feel that it’s important for everyone to sit at the table and enjoy a meal together. If the week ahead looks hectic, meal planning works very well and can save a lot of time and headache when it comes to “what’s for dinner?”. I’m not saying that this is possible for every single family out there every single day (we don’t do it everyday either), but since I grew up in that kind of environment, I hope one day I can do the same for my kids too.

The moral of the story: even if it’s quick and simple, gathering around a dinner table enjoying good food brings people closer. It’s exactly why “food” is usually the center of all sorts of gatherings – pot lucks, birthday parties, family get-togethers, Thanksgiving, picnics….

I guess this whole rant really has nothing to do with why I made this dish today, but I hope I can try to change people’s views about cooking. It really doesn’t have to take up a lot of your time everyday… you just have to be smart about it.

Okay. I think that’s enough of that. Now onto the good stuff and why you’re here in the first place…

Since it’s the weekend, I like to make meals that require a little bit more time – makes weekend cooking seem more fun and special, especially since everyone is home and can share the meal together. These pork chops are easy to make, and who doesn’t like slopping all that tasty sauce with bits and pieces of meat? The mushrooms are meaty and are a great addition to the entire dish as well.

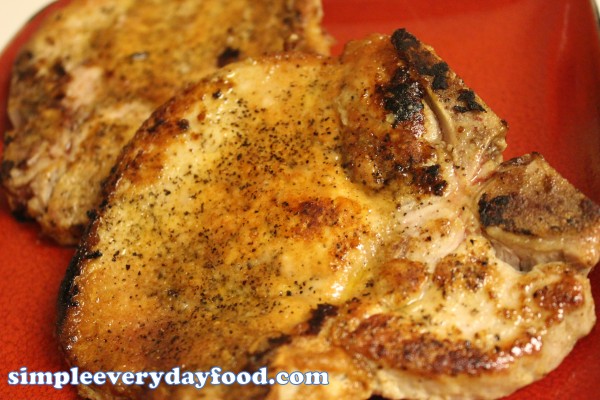
IMG_0748

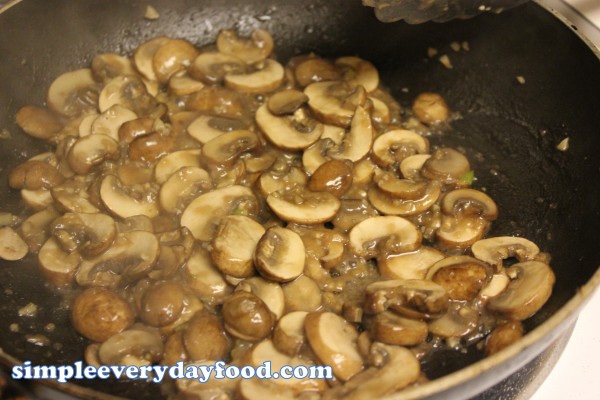
IMG_0750

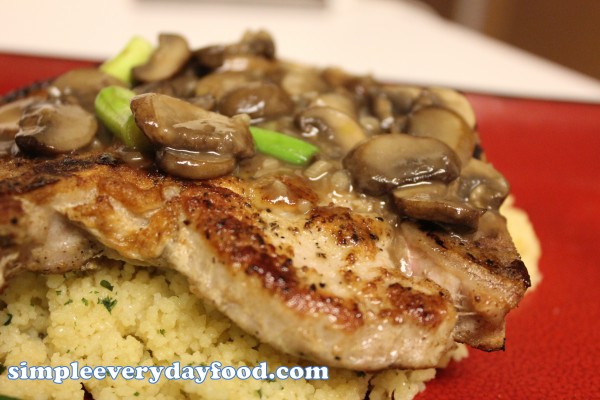
IMG_0756

pork chops with mushroom sauce
Print
Ingredients
  1. 2-1/2" thick bone-in pork chops
  2. 1.5 tablespoons flour
  3. 1.5 tablespoons EVOO
  4. 8 oz cremini mushrooms, sliced
  5. 2 cloves garlic, minced
  6. 1 bunch of scallions, green parts cuts into 1" pieces, white parts thinly sliced
  7. 1/2 cup low-sodium chicken broth
  8. Salt and pepper
Instructions
  1. Season the pork chops with salt and pepper. Lightly coat each side with flour.
  2. In a skillet, heat 1 tablespoon EVOO over medium-high heat. Add pork chops and cook until just golden brown and cooked through, about 3-4 minutes per side. Transfer to plate and keep warm.
  3. Heat the remaining 1/2 tablespoon of EVOO in the same skillet. Add the garlic, scallion whites, mushrooms, and a pinch of salt. Cook until mushrooms begin to brown. Stir occasionally.
  4. Add in 1/2 tablespoon of flour and cook for another 2-3 minutes. Then stir in the chicken broth and bring to a boil. Turn heat down to medium-low and simmer the sauce until it is slightly thickened. A few minutes before you turn off the heat, add in the scallion greens.
  5. Divide pork chops among plates and spoon mushroom sauce over chops.
Adapted from Food Network Magazine
Simple Everyday Food https://www.simpleeverydayfood.com/
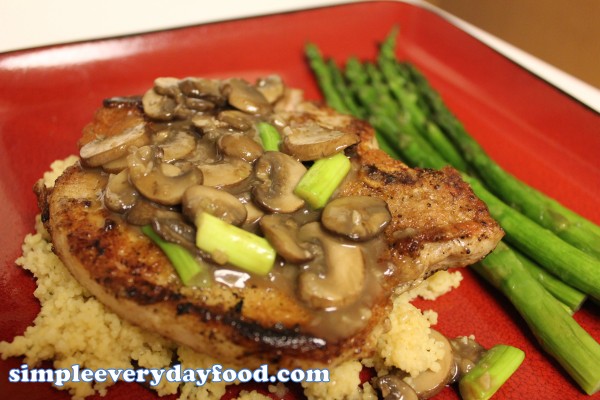
We served the pork chops along side of some asparagus and couscous…. super yummy!

IMG_0754

Enjoy!

Sharing is caring! Email this to someonePrint this pagePin on PinterestShare on YummlyShare on FacebookShare on Google+Tweet about this on Twitter

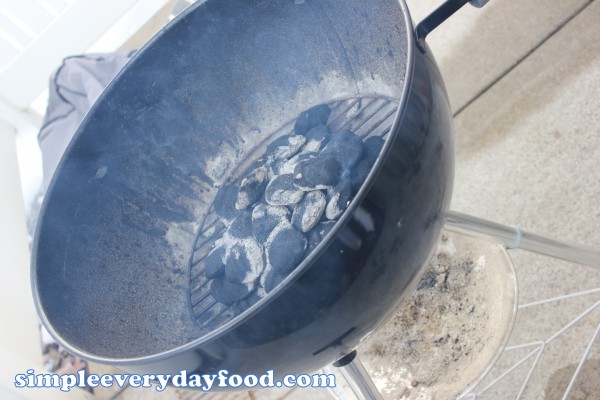
Spring has been slow to arrive here in Minnesota this year, so when it finally reached the mid-50s today, we seized the opportunity to fire up the grill.

Actually, let me rephrase that: the hubs finally got to fire up the grill and feel manly after a long winter…

IMG_0712

I’m really not a big fan of steak (as un-American as that sounds). I would usually choose chicken, pork, seafood, lamb, or duck over beef. However, there is still one occasion I will not give up my beef – hamburgers. When it comes to burgers, I still want a good juicy beef patty instead of a veggie burger or turkey burger.

So when we go to restaurants and I happen to order some sort of steak, the hubby’s reaction is always “YOU’RE ORDERING A STEAK?!?!” like it’s the most absurd thing he’s ever heard.

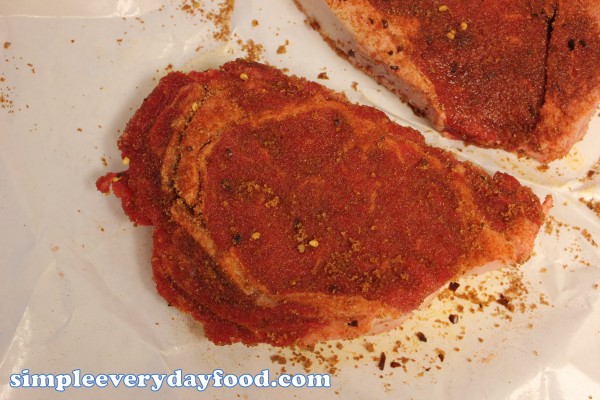
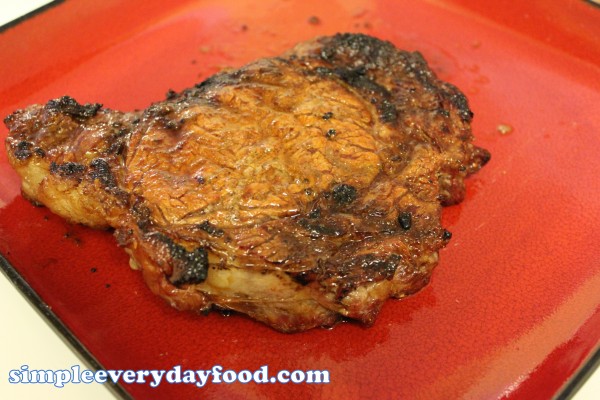
Super simple rub, and it gives the steak a nice flavorful crusty crust (ha… crusty crust. Not sure why that’s so fun to say). The steak turned out to be super juicy – there wasn’t a whole lot of talking at the dinner table tonight.. we were both too busy shoving food in our mouths.

IMG_0706

IMG_0708

Poor Bentley did his best to look cute, thinking that he’ll be able to get a little piece of steak as a after-dinner treat. Well, mommy and daddy couldn’t say no to his cute little face and gave in in the end.

IMG_0713

Bentley – 2,819, mom and dad – 0.

Granted I’m not a steak connoisseur, this rub sure produced a pretty tasty steak. Of course, props to the man who executed it to perfection.

IMG_0719

Man, my man can grill.

dry-rubbed rib-eye steak
Print
Ingredients
  1. 2 tablespoons salt
  2. 2 tablespoons brown sugar
  3. 1 teaspoon crushed red pepper
  4. 2 teaspoons paprika
  5. 1 teaspoon garlic powder
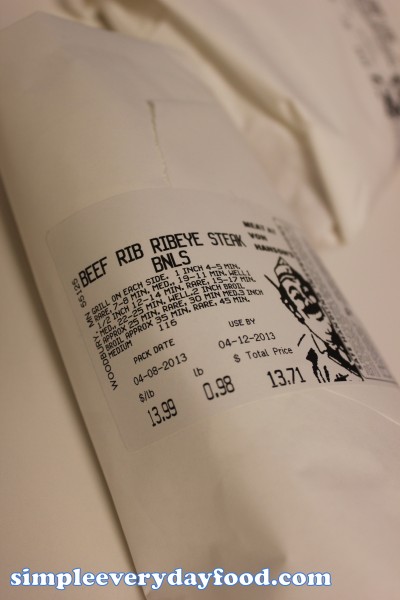
  6. 2-16 ounce boneless rib-eye steaks, about 1" thick
Instructions
  1. Using a charcoal grill, set up the grill so the coals are nice and hot.
  2. Combine all the dry ingredients in a small bowl, making sure all the ingredients are evenly distributed.
  3. Rub both sides of the steaks generously with the rub.
  4. Place the steaks directly over direct heat and cook for 10 minutes on each side (for medium done steaks).
  5. Let steaks rest for about 5 minutes.
Notes
  1. Cooking times can vary based on personal preference of how well you like your steaks done and the thickness of your steak.
Adapted from Food Network
Simple Everyday Food https://www.simpleeverydayfood.com/
Perfect meal to end a wonderful weekend. Even Bentley doesn’t look too thrilled that tomorrow’s Monday.

IMG_0718

Have a wonderful week, folks!

Recipe adapted from Food Network

Sharing is caring! Email this to someonePrint this pagePin on PinterestShare on YummlyShare on FacebookShare on Google+Tweet about this on Twitter

Chipotle is perhaps my favorite fast-food restaurant. Their food is light, not greasy, fast, and it’s relatively healthy compared to other fast food restaurants.

It also has a special place in my heart. Back in my skating days, me and my skating buddies would always stop by Chipotle afterwards to grab a bite to eat before going home. In the winter, we would go to the one a few blocks away from the Metrodome; in the summer, we’d stop by the one right by Lake Calhoun, sit outside, and enjoy the warm summer sun.

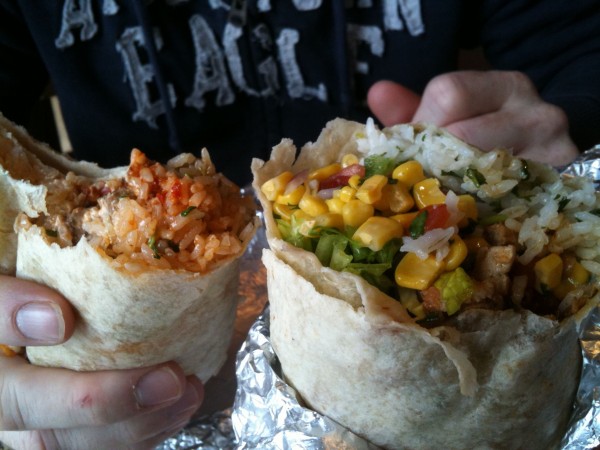
I may be a small petite, 96-pound lady, but when it comes to eating Chipotle burritos, my stomach always seem to expand to twice its size. Instead of explaining further, let me just include a picture of my burrito compared to the hubs from a while back (mine is the one on the right):

IMG_0726

All I put on mine are rice, carnitas, pico de gallo, extra corn, and lettuce. No beans, no sour cream, and no cheese. It doesn’t seem like a whole lot, but somehow when you pile everything up on a flour tortilla, they always have problems wrapping it together…

Since the hubs and I are still on the “healthy, no eating out” diet, I decided to make Chipotle at home, and made some carnitas in the crockpot. This recipe is super easy (just like most crockpot recipes), and the carnitas turned out to be super tender and flavorful as well.

Ingredients:

  • 3-4 pound pork shoulder, with most of the fat trimmed off
  • 4 cloves garlic, minced
  • 1 tablespoon salt
  • 1 teaspoon cumin
  • 1 teaspoon chili powder
  • 1 teaspoon black pepper
  • 1 teaspoon oregano
  • 1/4 teaspoon cinnamon
  • 1/2 teaspoon cayenne pepper
  • Juice of 2 limes
  • 1/2 cup orange juice
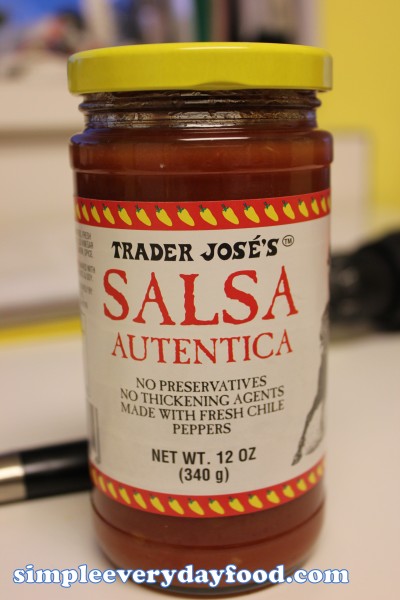
  • 1/2 salsa – I used a non-chunky kind

Directions:

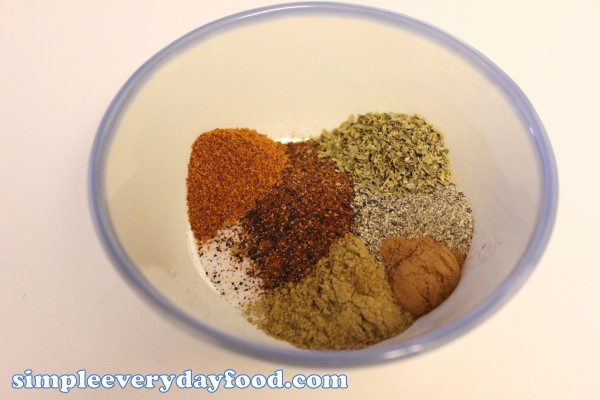
  • In a small bowl, combine the salt, cumin, chili powder, black pepper, oregano, cinnamon, and cayenne pepper.IMG_0660
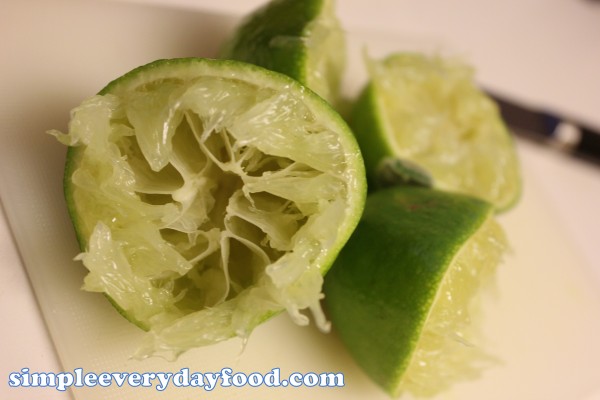
  • In a separate bowl, combine the lime juice, orange juice, and salsa.IMG_0661

IMG_0662

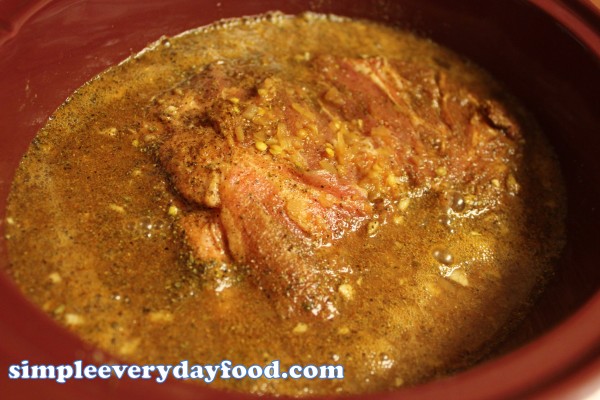
  • Rub garlic onto the pork shoulder, and place into slow cooker. Then rub all the spices evenly onto the meat. Add the juice/salsa mixture. Cover and cook for 7-8 hours.IMG_0665
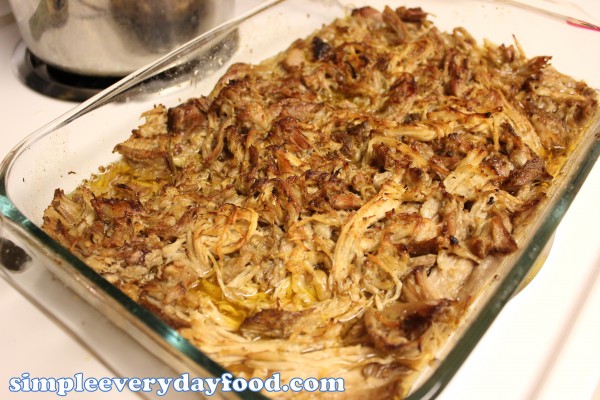
  • Preheat the broiler. Meanwhile, take the meat out of the crockpot and place onto a oven-safe dish (I used a casserole dish). Shred meat with two forks. Ladle in about 2-3 cups of the cooking liquid into the casserole dish and broil for 5-10 minutes until the edges are brown on the pork.IMG_0670
  • Serve on rice or tortillas with any toppings of your choice (hot sauce, sour cream, cheese, etc).

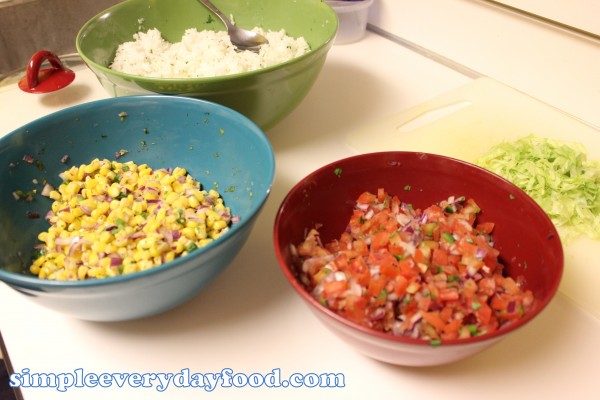
I made some cilantro lime rice (from a post a few weeks back), pico de gallo, corn salsa, and some shredded lettuce to go with our Mexican dinner. Instead of regular flour tortillas, we brought some jalapeno cheddar wraps to spice it up a bit.

IMG_0669

image

Enjoy and have a great week, folks!

Recipe adapted from Pinch of Yum

Sharing is caring! Email this to someonePrint this pagePin on PinterestShare on YummlyShare on FacebookShare on Google+Tweet about this on Twitter

When I was growing up, my mom would always tell me to act like a lady, sit like a lady, talk like a lady, and eat like a lady. As much as I try to eat like a lady most of the time, there are two situations where “lady-like manners” are out the window and I just have to eat like a dude instead:

Chicken wings and ribs.

I never understood the appeal of boneless chicken wings. Who eats wings with a fork?! That’s just silly. In my world, wings and ribs should always be eaten with fingers and lots of napkins. Getting every single piece of meat off the bones and licking your saucy fingers should be the only way they should be eaten. I’m just glad my now-husband didn’t take me to Buffalo Wild Wings on our first date, because I’m sure he probably wouldn’t want to be on a second date with me after seeing how “unlady-like” I can be when you put a plate of wings or ribs in front of me.

Anyway, back to this post…

Although this rib recipe is made in the oven, I’m sure they’ll taste equally tasty (if not better) when you throw them on a charcoal grill in the summer. In fact, my husband is looking forward to trying it out once this Minnesota weather finally decides to warm up, which I’m totally okay with – he’ll get to be all manly and stand over a grill while I wait for these succulent ribs to be cooked :)

Ingredients:

  • Approximately 3 pounds of pork spare ribs, cut into 1-pound racks
  • Juice of 1 lemon
  • 1 teaspoon salt
  • 1/2 teaspoon black pepper
  • 1/2 cup lager-style beer
  • 4 tablespoons unsalted butter
  • 8 cloves of garlic, minced
  • 1 tablespoon southwest chipotle seasoning
  • 1 cup Thai sweet chile sauce
  • 2 tablespoons packed brown sugar
  • 1/3 cup rice vinegar (not seasoned)

Directions:

  • Preheat the oven to 325 degrees.
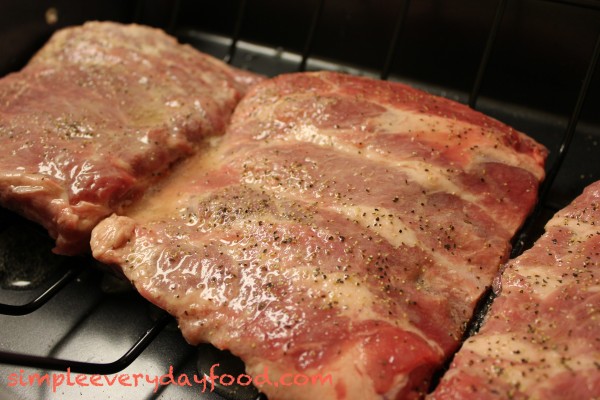
  • Put the ribs meat-side down on a cutting board and remove the membranes. Rub the ribs with the lemon juice and evenly sprinkle with salt and pepper.IMG_0600
  • Place the ribs bone-side down on a large roasting pan, then add the beer. Cover tightly with foil, and transfer to the oven. Roast for about 1 hour.
  • Meanwhile, make the sauce: In a medium saucepan, melt the butter over medium heat, then add the garlic. Stir occasionally, until garlic is slightly golden brown.
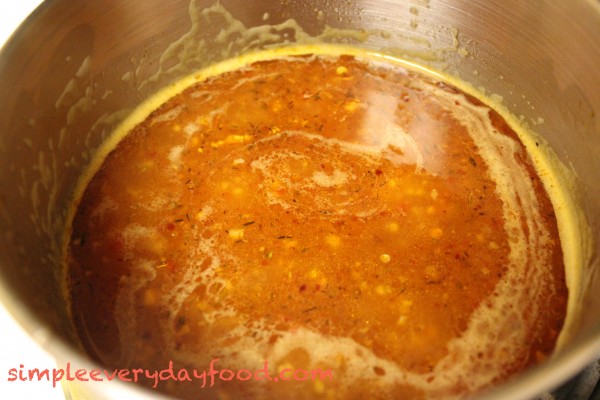
  • Add the chipotle seasoning, chile sauce, brown sugar, rice vinegar, and 1 cup of water. Bring to a boil, then reduce heat to low and simmer, stirring occasionally, until the sauce is thickened and reduced (about 40 minutes).IMG_0603
  • Remove the ribs from the oven. Increase the temperature to 400 degrees. Uncover the pan. Reserve about 1/4 cup of the cooking liquid and discard the rest.
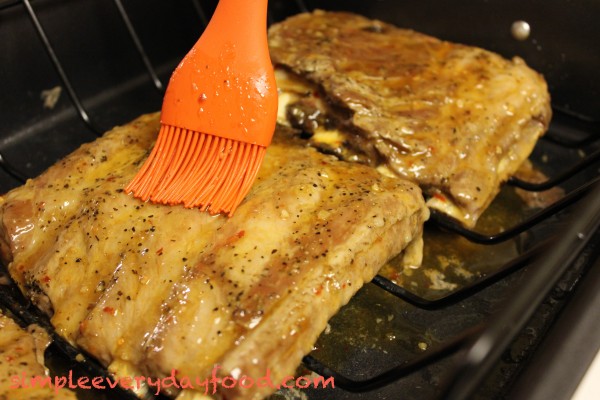
  • Combine the 1/4 cup cooking liquid with the sauce, then generously brush the sauce mixture over the ribs. Don’t be shy! The more sauce you brush on there, the better!IMG_0604

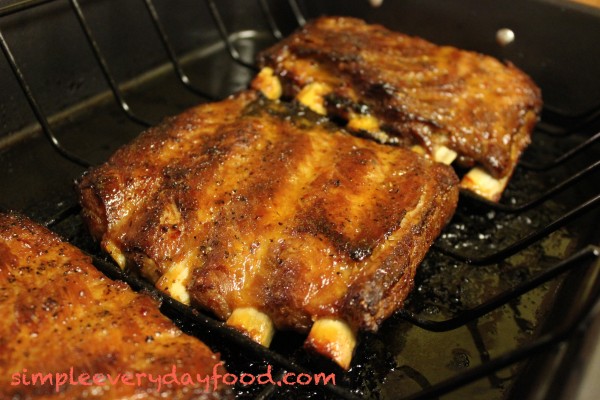
Note: when you take them out, you’ll find the ribs relatively sad-looking… they won’t have the nice golden color with the crunchy texture when you think “ribs”, but don’t worry! I promise they’ll turn out just fine.

  • Return the pan back in the oven, uncovered, for another 35 minutes. I actually took the ribs out and brushed them with more sauce about halfway through to make sure they’re moist and flavorful.IMG_0606
  • Transfer the ribs to a cutting board and slice. If you want, you can actually toss the ribs with the remaining sauce before serving.

IMG_0608

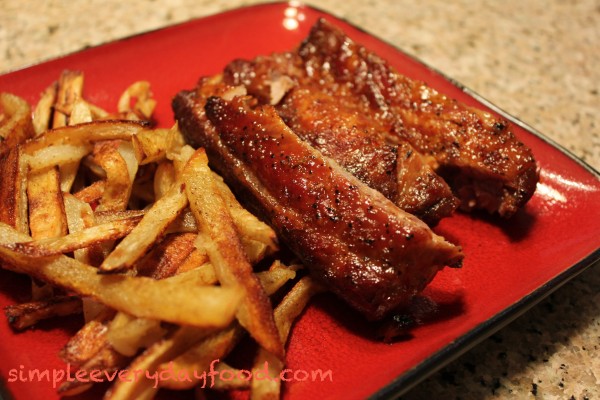
We served them with a side of some homemade Cajun fries.

Enjoy!

Sharing is caring! Email this to someonePrint this pagePin on PinterestShare on YummlyShare on FacebookShare on Google+Tweet about this on Twitter