everyday food made simple

For the longest time ever, I didn’t know apple butter didn’t actually involve “butter”. Why couldn’t they call it something like “apple jam” or “apple spread”?
IMG_4250 copy

IMG_4267 copy

But then again, peanut butter doesn’t involve “butter” either, and I don’t hear people calling it “peanut spread”…

BUT! They do call the popular Nutella a “hazelnut spread”, not a “hazelnut butter”, even though its consistency is just like peanut butter..

So what qualifies a condiment as a “butter”? Is it its consistency? Like it’s so smooth it spreads just like butter? Or is it just the way people are used to calling it? Maybe I’ll start a new trend and call my apple butter an apple “spread” instead.
IMG_4236 copy

Ugh. Technicalities.

So anyway. I’ve been wanting to make Crockpot apple butter for years now, and I’m so glad I finally did! It’s soooooo easy and so ridiculously delicious that I can’t believe it took me so long to try it! I used a mixture of Fuji, Honeycrisp, and Granny Smith apples for my apple butter. The Fuji and Honeycrisp apples are sweet, and the Granny Smiths give it a hint of tangy tartness that wonderfully balances out the sweetness of the sugar and apples.

The best part about all this is that you throw all your ingredients in a Crockpot and let it slowly cook overnight, and you’ll wake up to the delicious mouth-watering smell of cinnamon apples. Add a splash of vanilla extract, break up any large pieces with a wooden spoon, and let it cook another 1-2 hours the next morning as you slowly sip on your coffee and read the morning newspaper.

If you own an immersion blender, this would be a good time to use that nifty gadget. If you’re like me and don’t own one of those cool gadgets, then simply puree the apple mixture in a blender in batches (I filled my blender about half full and only had to puree two batches of it).
IMG_4247 copy

IMG_4255 copy

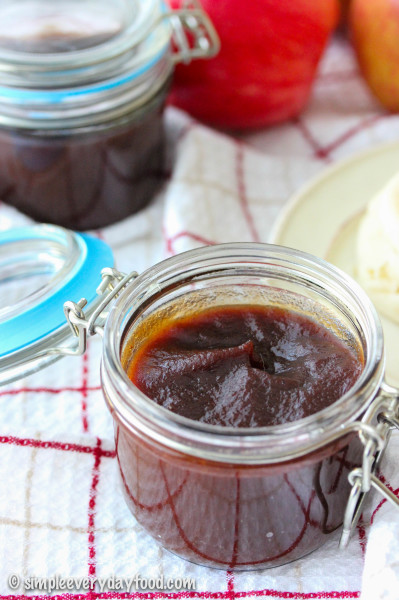
If you’re satisfied with the consistency of your apple butter, then simply let it cool completely prior to transferring them into jars. I personally prefer a thicker apple butter, so if you’re like me, then place the pureed apple butter back into the Crockpot with the lid ajar and cook on low for another hour or two, or until it has reached your desired consistency.

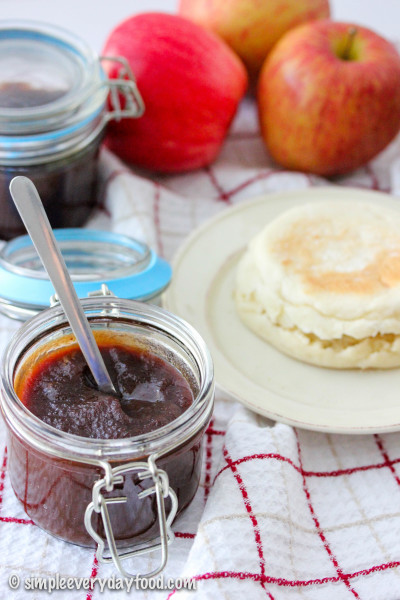
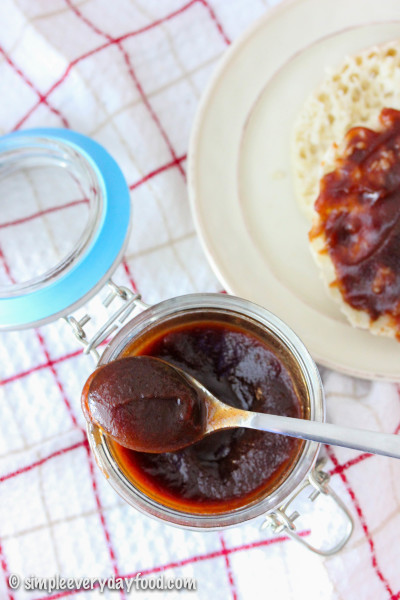
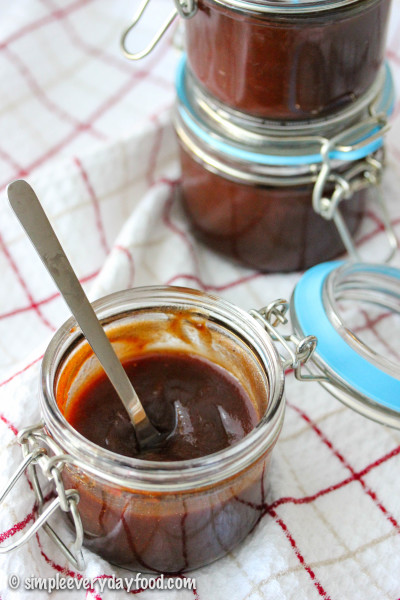
If you know how to can things, can this baby up and save it for the dead of winter when you’re craving a taste of fall. Otherwise place it in the fridge and spread it on toast, on an English muffin, on crackers, or just eat it with a spoon.

Or if you’re feeling generous, give away a few jars to friends and family – they’ll love you forever.
IMG_4289 copy

IMG_4277 copy

overnight crockpot apple butter
Print
Ingredients
  1. 3-3.5 pounds apples, peeled, cored, and sliced (about 7-8 apples; I used a combination of Fuji, Honeycrisp, and Granny Smith)
  2. 1/2 cup granulated sugar
  3. 1/2 cup dark brown sugar, packed
  4. 2 teaspoons ground cinnamon
  5. 1/4 teaspoon ground nutmeg
  6. 1/8 teaspoon ground cloves
  7. 1/8 teaspoon ground allspice
  8. A pinch of salt
  9. 1 and 1/2 teaspoons vanilla extract
Instructions
  1. Place apples in a slow cooker. In a medium bowl, combine the sugars, cinnamon, nutmeg, cloves, allspice, and salt. Sprinkle over the apples and stir it around until the apples are generously coated with the sugar mixture. Cover and cook on low for 10-12 hours overnight.
  2. The next morning, add in the vanilla extract. Stir the mixture around, breaking up any large pieces with a wooden spoon. Cover and cook for another 2 hours.
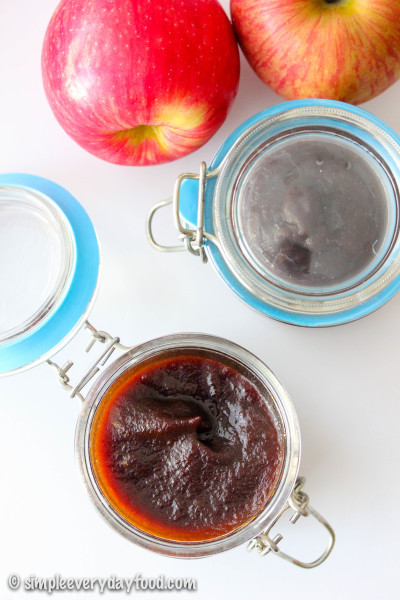
  3. In batches, pour the mixture into a blender and puree until smooth (this would be a time where an immersion blender would come in handy). For a thicker consistency, continue to cook the pureed apple butter on low with the slow cooker cover ajar for another hour, or until it's to the consistency of your liking.
  4. Let cool completely and transfer into jars. Refrigerate apple butter for up to 2 weeks.
  5. Makes about 1.5 pints
Adapted from Brown Eyed Baker
Simple Everyday Food https://www.simpleeverydayfood.com/
Recipe adapted from Brown Eyed Baker

© Simple Everyday Food. All images & content are copyright protected. Please do not use any of my images without prior permission. If you want to republish this recipe, please re-write the recipe in your own words, or kindly link back to this post for the recipe.

Sharing is caring! Email this to someonePrint this pagePin on PinterestShare on YummlyShare on FacebookShare on Google+Tweet about this on Twitter

IMG_3933 copy

As much as I complain about how much I hate seeing summer go, a little part of me secretly loves the anticipation and the arrival of fall.

Watching the trees gradually change from a lively, healthy green color to a vibrant, flaming red/orange color in a span of a week, the sound of crunching leaves beneath my shoes, watching store shelves stock up on caramel apple/pumpkin spice everything, being able to lounge all day in sweatpants and a hoodie (even though it seems like that’s all I wear 9 months out of the year anyway), are just some of the reasons why I’m a big fan of fall.

Oh, and boots. All the boots. Don’t even get me started on shopping for the perfect pair of boots.

And the fact that fall also means that no one will ever know if you don’t shave your legs for the next 7-8 months. And that you will also be forgiven if you don’t bother on getting pedicures from now on, since it’ll be too cold for flip-flops and sandals outside anyway.

Last weekend it was 90 some degrees here in Minnesota, so Brian and I decided it’d be the perfect weekend to go hunt for some pretty fall foliage, since according to every single news channel and multiple websites, fall leaves were at their peak north of the metro.

So the mister and I decided on the St. Croix State Park, which 50-75% of the leaves have turned colors, according to the state park website. We packed up my camera, stocked the car full of snacks, and made the hour-long drive up north, excited to take some gorgeous photos. (← #signsthatyouregettingold)

After much disappointment and getting attacked by swarms of mosquitoes, I came home with a few satisfactory photos. The state park was sort of a let down, as we drove around a lot and the location the website recommended for “perfect fall photos” didn’t have a single red leaf on its trees.

Not to mention my mosquito bites swelled up within hours and turned into huge welts all over my arms that left me itchy for daaaaaaays.

Ironically, most of the best foliage photos were taken by me sticking my camera out the car window while passing various small town neighborhoods.

PicFrame(1)

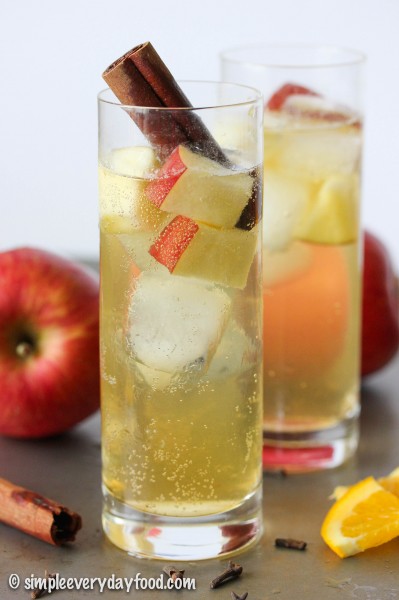
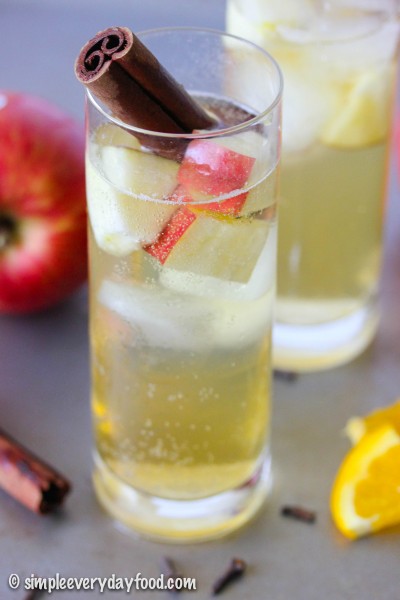
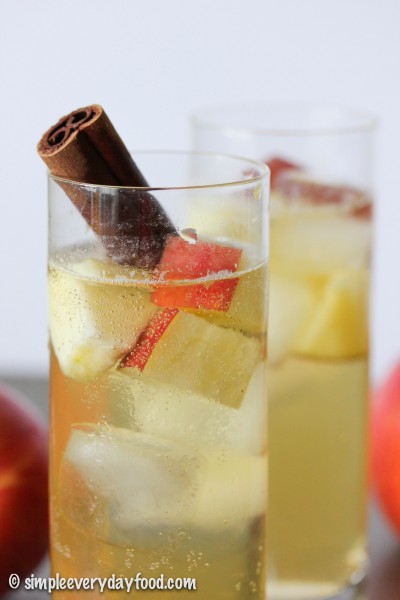
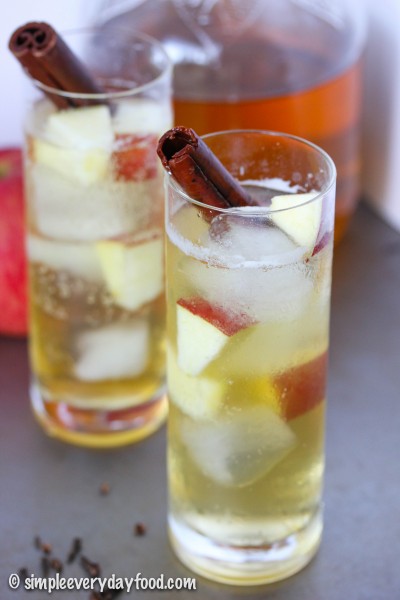
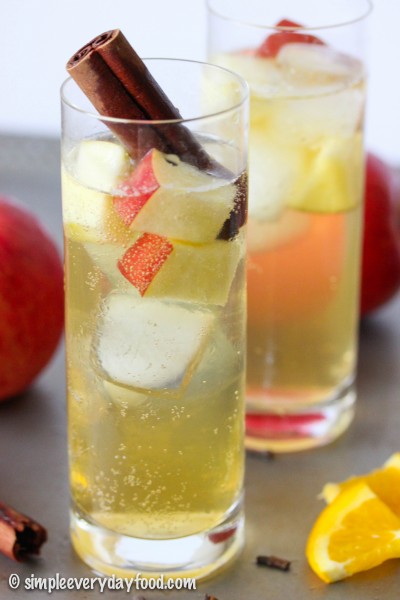
After we got home, I was exhausted, hot, sweaty, and itchy, and proceeded to pour myself a large cold glass of this sparkling apple cider I made the day before.

IMG_3935 copy

IMG_3942 copy     

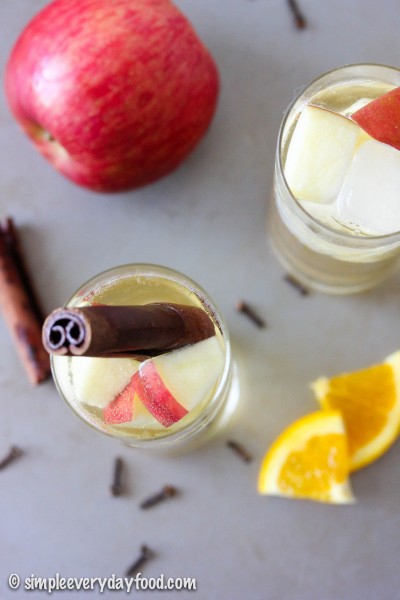
If where you’re at is still too hot for hot apple cider, this is definitely for you! However, if you’re not a fan of spiced apple cider, feel free to substitute the amount of spiced cider in this recipe for plain cider, although I do think the addition of orange slices and subtle notes of cinnamon and cloves does elevate the original to a whole new level!

IMG_3937 copy

IMG_3893 copy

sparkling spiced apple cider
Print
Ingredients
  1. 2 cups apple cider
  2. 1/2 orange, sliced (leave the peel on)
  3. 2 cinnamon sticks
  4. 1 teaspoon whole cloves
  5. 2 cups club soda
Instructions
  1. In a medium saucepan, combine the apple cider, orange, cinnamon sticks, and cloves. Bring to a boil, them reduce and simmer for 30 minutes. Remove from heat and let cool. Discard all the solids.
  2. Fill 4 tall glasses with ice. Fill each glass with 1/2 cup of the cooled spiced cider and 1/2 cup of club soda. Serve immediately.
  3. Makes 4 cups (4 servings)
Simple Everyday Food https://www.simpleeverydayfood.com/
IMG_3930 copy

© Simple Everyday Food. All images & content are copyright protected. Please do not use any of my images without prior permission. If you want to republish this recipe, please re-write the recipe in your own words, or kindly link back to this post for the recipe.

Sharing is caring! Email this to someonePrint this pagePin on PinterestShare on YummlyShare on FacebookShare on Google+Tweet about this on Twitter

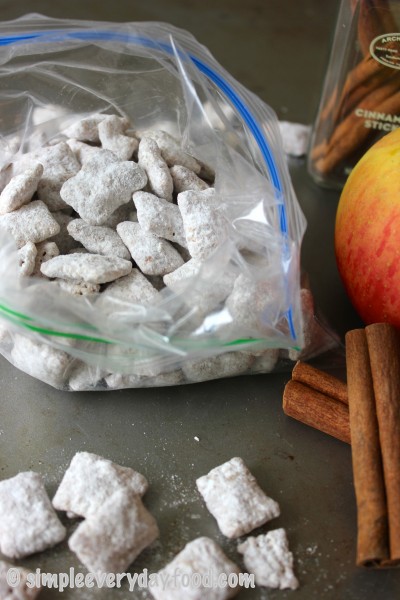
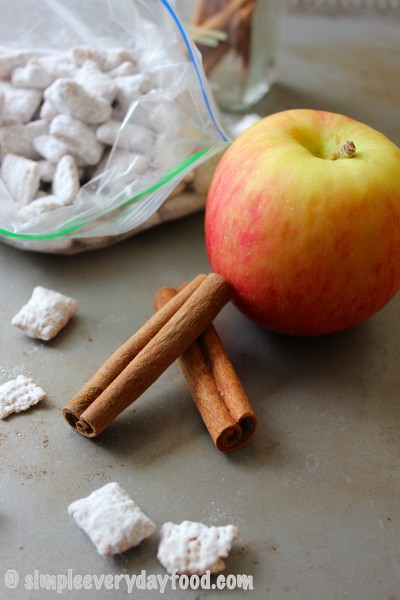
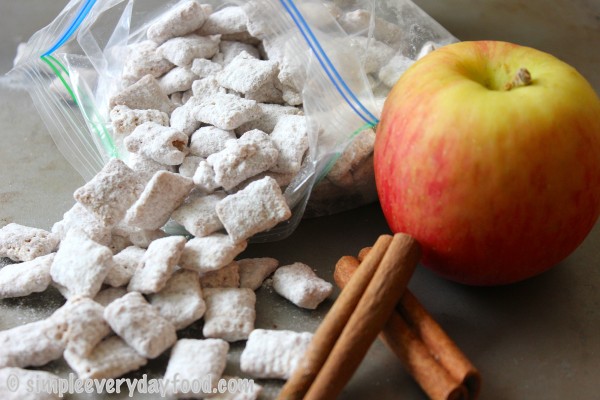
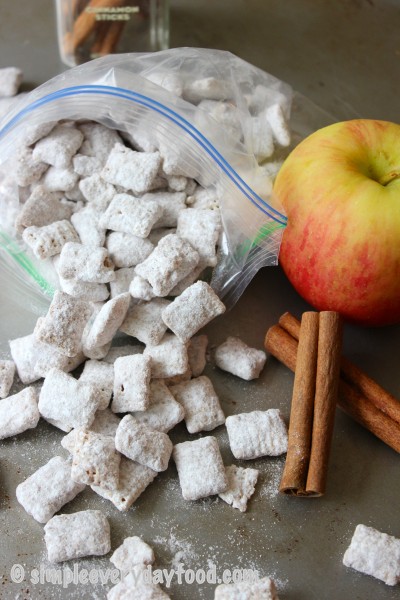
I’ve been a little obsessed with puppy chow lately. I just made these, and I already have about a dozen different other variety of flavor combinations I want to make already!

IMG_1758 copy

IMG_1770 copy

Brian really isn’t a big fan of puppy chow, so every time I make these, my friends and coworkers are in luck – as much as I’d love to eat 8 cups worth of Chex cereal covered in sugary goodness, I find myself packing them into little snack bags to bring to work and school to share (sharing is caring, right?). My friends really aren’t as lucky when I make cookies or cupcakes, as those tend to slowly mysteriously disappear when I’m out of the house [ahem] :)

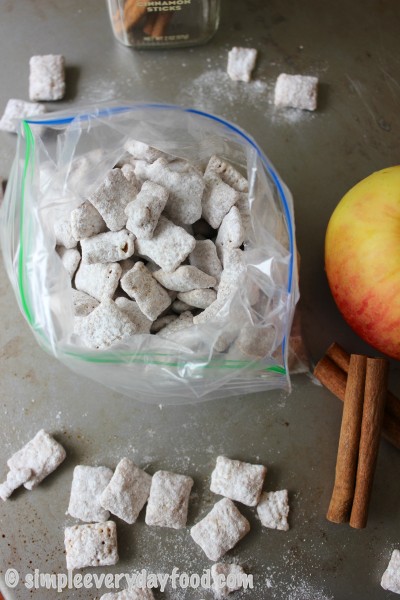
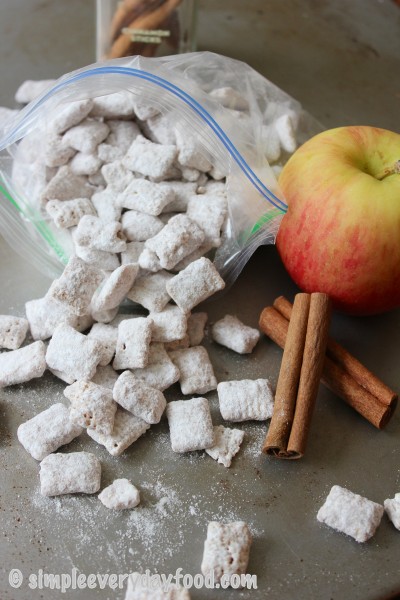
Although I’m not ready to let summer go and am in some sort of a denial state of mind that autumn is upon us, I can’t help but be excited about the different fall recipes I have planned for the next few months – apple pie spice puppy chow sounded like the perfect way to welcome the arrival of fall.

IMG_1754 copy

IMG_1760 copy

apple pie spice puppy chow
Print
Ingredients
  1. 8 cups apple & cinnamon Chex cereal
  2. 16 oz vanilla coating/almond bark
  3. 2 teaspoons apple pie spice mix (see below)
  4. 2 cups powdered sugar
For the apple pie spice mix
  1. 4 tablespoons ground cinnamon
  2. 1 and 1/2 teaspoons ground nutmeg
  3. 1/2 teaspoon ground allspice
  4. 1 and 1/2 teaspoons ground cardamom
  5. A pinch of ground ginger
Instructions
  1. Pour cereal into a large bowl.
  2. Using a double boiler, melt the vanilla coating/almond bark.
  3. Pour the melted vanilla coating onto the cereal, stir. Add in the apple pie spice mixture, stir until thoroughly combined.
  4. Add the powdered sugar into the cereal mixture, about 1 cup at a time, until the cereal is evenly coated with powdered sugar.
  5. Spread onto waxed baking sheets for coating to set. Store in airtight container for 1 week.
  6. Makes about 8 cups.
Notes
  1. Measurements for the ingredients for the apple pie spice does not have to be exact. Amount can be varied if you prefer a little bit more (or less) of one particular spice.
  2. Spice mixture recipe adapted from My Baking Addiction.
Adapted from A Pumpkin & A Princess
Simple Everyday Food https://www.simpleeverydayfood.com/
IMG_1766 copy

As if the apple pie spice mixture wasn’t delicious enough, the apple and cinnamon Chex cereal really kicks the flavor up a notch. If regular Chex cereal is all you have on hand, I’m sure it’ll taste just fine, too. Like I mentioned in the recipe card, the measurements of the spice mixture doesn’t have to be exact – everything can be made “according to taste” when it comes to these babies! I personally love cinnamon and nutmeg, so I added a bit more in mine. I wasn’t sure quite sure about the ginger flavor, so a dash of ground ginger was all I put in it. So feel free to play around with the spices – this is one of those recipes that doesn’t require exact measurements!

IMG_1768 copy

I brought a few little baggies of these to school to share, and they sure got rave reviews from everyone! I think the smell of apple pie brings back warm happy memories for everyone – family gatherings, warm cozy blankets, falling leaves…

I would be one happy camper only if there could be two seasons in a year: summer and fall.

Enjoy!

Recipe adapted from A Pumpkin & A Princess

© Simple Everyday Food. All images & content are copyright protected. Please do not use any of my images without prior permission. If you want to republish this recipe, please re-write the recipe in your own words, or kindly link back to this post for the recipe.

Sharing is caring! Email this to someonePrint this pagePin on PinterestShare on YummlyShare on FacebookShare on Google+Tweet about this on Twitter

Apple pie. It’s as American as baseball, NASCAR, and country music.

(Yes, I love all of the above)

Plus, now you can make it just in time for the 4th of July holiday!

A few weeks ago when I made my key lime pie bars, I mentioned that during my break from work and school, I was going to muster up the courage and attempt to make my first ever pie.

Well, since my “days left of vacation” are dwindling down to single digits, I figured what better time than this weekend. The pie isn’t going to make itself, right?

As I was assembling my pie together, I remembered why I never made pies in the first place – they are just way too much work and take so much time! It’s definitely not something to make on a regular basis when you work and go to school full time, that’s for sure. Even though it was pretty dang worth it in the end.

IMG_1187

First you have to make the filling. Peeling and slicing 4 pounds of apples was not fun.

IMG_1167

IMG_1170

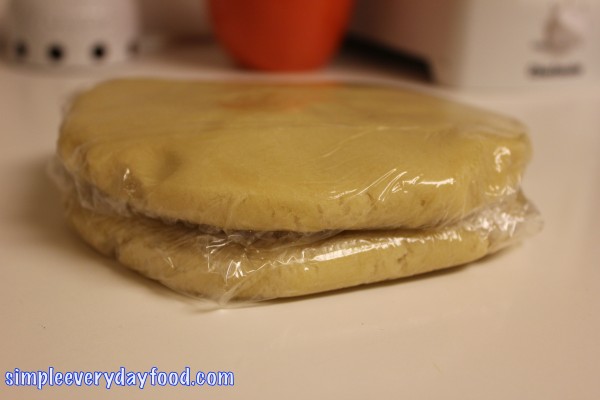
Then you have to make the dough. This step wouldn’t have been so difficult if our food processor could hold more than 1 cup of flour at a time. I figured, “oh I’m sure it can fit 2.5 cups of flour and 4 tablespoons of shortening and 1.5 sticks of butter so let me just try to fit everything in there and pulse it together.

IMG_1174

Of course it wasn’t that easy: flour went everywhere and nothing was getting pulsed and mixed the way they were supposed to. Instead of a simple 10-minute process, I think it took me about 40 minutes fighting with the food processor to make the pie dough.

Needless to say, my dough-making process involved a lot of swearing, “ugh”‘s from annoyance, and thoughts about giving up and buying pre-made pie crust instead.

In the end, I persevered and showed the pie gods a tiny food processor wasn’t going to hinder my making-pie-for-the-first-time spirit.

IMG_1175

After the dough was made, it needed to chill in the refrigerator for at least an hour. Then they needed to be rolled out into two 12″ discs. Well, this step proved to be quite a challenge for me too. First my pie dough kept sticking to my work surface (I think I wasn’t generous enough with the flour), then parts of the dough stuck to my rolling pin, leaving little holes in my crust. After a small battle (and a little bit more cursing), I assembled my pie together, only to find out I forgot to dot the chilled filling with the two additional tablespoons of melted butter before covering the pie up with the other disc of dough.

UGGGHHHHHHH.

IMG_1185

Well, I guess I just inadvertently made this pie a little bit healthier, because I sure wasn’t about to take that thing apart and do it all over again. Now I won’t feel as guilty later when I go back for seconds (or put an extra scoop of ice cream on it).

classic apple pie
Print
For the pie dough
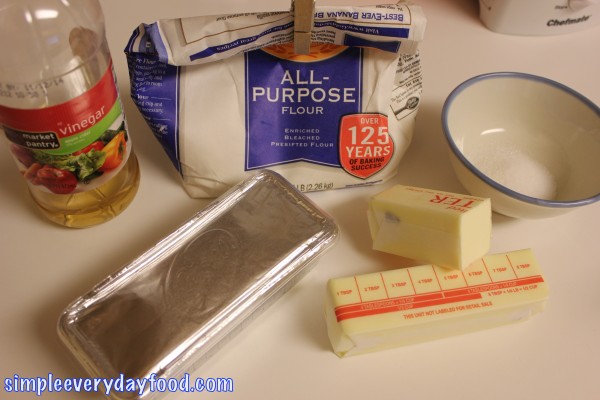
  1. 2.5 cups all-purpose flour
  2. 4 tablespoons cold vegetable shortening
  3. 2 teaspoons sugar
  4. 1/2 teaspoon salt
  5. 1 teaspoon apple cider vinegar
  6. 1.5 sticks cold unsalted butter, cut into small cubes
For the filling
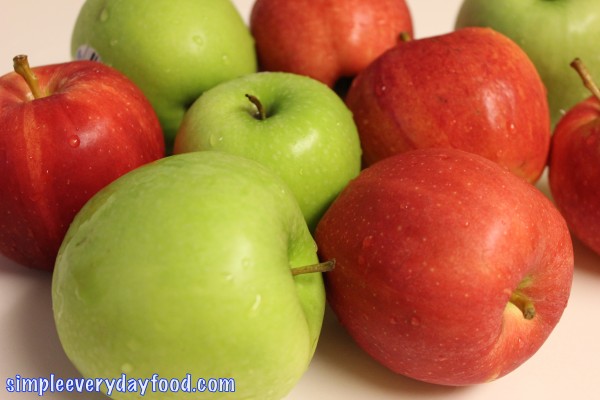
  1. 4 pounds of mixed apples (I used Granny Smiths and Gala apples), peeled and cored
  2. 2/3 cup granulated sugar
  3. 2 tablespoons lemon juice
  4. 4 tablespoons unsalted butter
  5. 2 tablespoons flour, plus more for dusting
  6. 1 teaspoon ground cinnamon
  7. 1/4 teaspoon salt
  8. 1 large egg, beaten
To make the pie dough
  1. Pulse the flour, shortening, sugar, vinegar, and salt in a food processor until it turns into a fine meal. Add the small cubes of butter and pulse. Add 1/4 cups of ice water and pulse until the dough begins to come together. Add in an addition 1-4 tablespoons of ice water (one tablespoon at a time), if the dough doesn't seem like it's holding together.
  2. Divide the dough between two sheets of plastic wrap and pat into discs.
  3. Wrap tightly and chill in fridge for an hour, preferably overnight.
To make the filling
  1. Slice the apples into 1/4" thick slices. Transfer into a large bowl and toss with lemon juice and sugar.
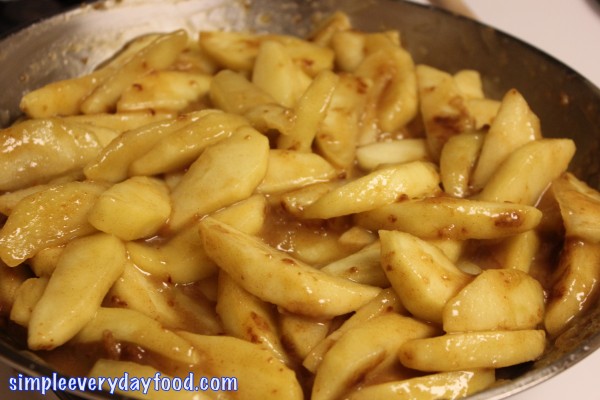
  2. Melt the butter in a large skillet over medium heat. Add the apples and cook until softened, about 15 minutes, stirring occasionally. Add in the flour, cinnamon, and salt. Stir until sauce starts to thicken. Remove from heat. Set aside and let cool completely.
To assemble the pie
  1. Roll out one disc of dough onto a well-floured work surface into a 12" round. Carefully transfer to a 9" pie plate. Add in the cooled filling.
  2. Roll out the other disc of dough into a 12" round. Lay the dough over the filling and press the two crusts together. Trim the edges if needed and crimp with your fingers.
  3. Brush the top of the crust with the beaten egg and sprinkle with coarse sugar, if desired. Cut a few slits on the top crust to allow steam to escape. Chill in the refrigerator for an hour.
  4. Meanwhile, place a baking sheet on the lower rack of the oven and preheat the oven to 425 degrees for at least 30 minutes. Put the pie directly on the hot baking sheet and reduce temperature to 375 degrees.
  5. Bake until the pie is golden and filling is bubbly, about 60-70 minutes, rotating the pie several times throughout.
  6. Transfer to a cooling rack and cool until the filling is set (about 2-3 hours).
Adapted from Food Network Magazine
Simple Everyday Food https://www.simpleeverydayfood.com/
IMG_1196

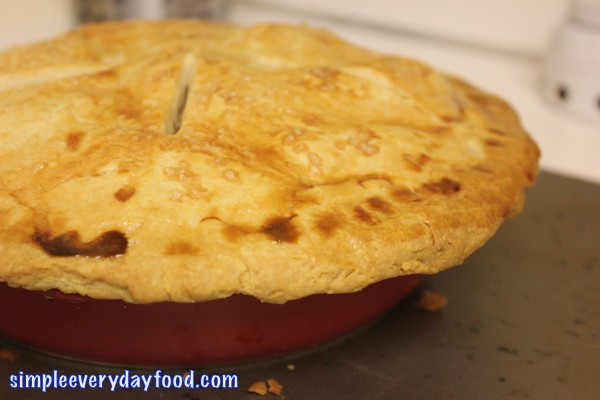
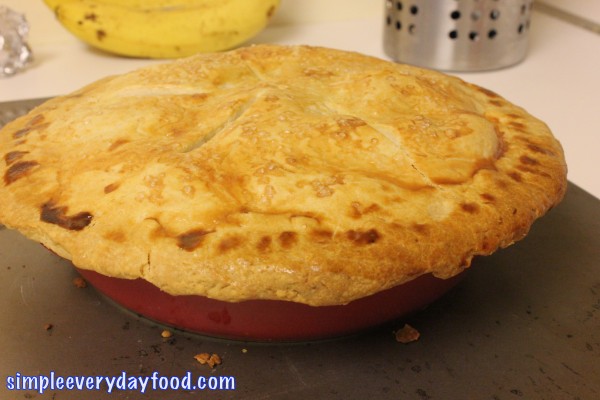
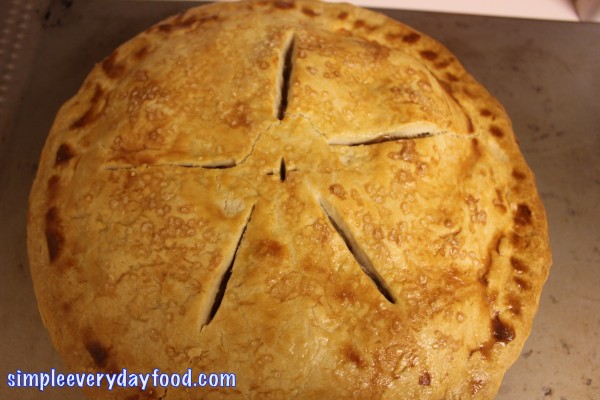
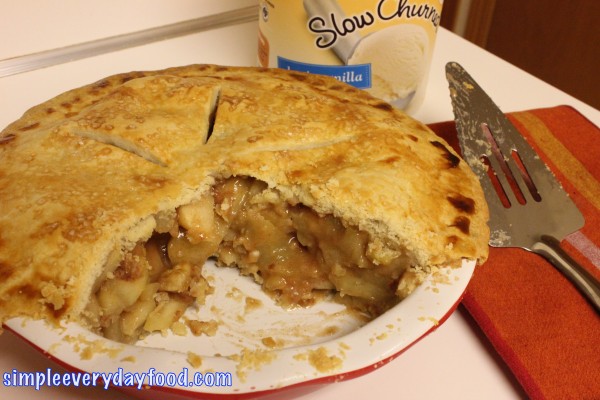
Despite all the technical difficulties experienced, the pie turned out to be a success! Not only does it taste great, it’s actually a pretty good looking pie for my very first ever attempt! (If I may say so myself…)

I’ll be honest, the thing that bothered me the most throughout this whole process were the 5 slits on the top crust not being evenly spaced.

IMG_1192

…It’s just part of my OCDness. At least once I cut out the first slice, it didn’t bother me as much anymore.
IMG_1197


Now that I know I can make a pie, I think I’ll stick with cookies, cupcakes, truffles, and other individual-sized desserts for now.
Enjoy!

Recipe adapted from Food Network Magazine

Sharing is caring! Email this to someonePrint this pagePin on PinterestShare on YummlyShare on FacebookShare on Google+Tweet about this on Twitter

I know it’s only Wednesday and the weekend still seems so far away, but as it gets closer and closer to Friday night, I start planning our weekend menu. This usually includes something homemade and yummy for dinners, some sort of a dessert (if I have the time to bake something delicious), and occasionally something healthy to munch on as well.

Just to be clear, I’m not always this ambitious… but every once in a while when I don’t have a whole lot to do for school, I like to go all out and spend the weekend cooking and baking.

Going along with the healthy diet we’ve been on the past month, I’ve decided to make some homemade apple chips, sprinkled with cinnamon and brown sugar. Turns out, these are super easy (and tasty) and they don’t take a whole lot of prepping time. Not only that, they’re a lot healthier than the store-bought version, and probably a whole lot cheaper too.

Healthy, tasty, simple, and cheap? Sounds like a winner to me!

And just an FYI, these take about two hours to bake in the oven. During these two hours, your house will smell amazing. Think about those apple cinnamon and brown sugar candles you see stores selling during the holidays – these smell exactly like that, but better (because frankly, real ‘apples & cinnamon’ smells better than burning scented wax).

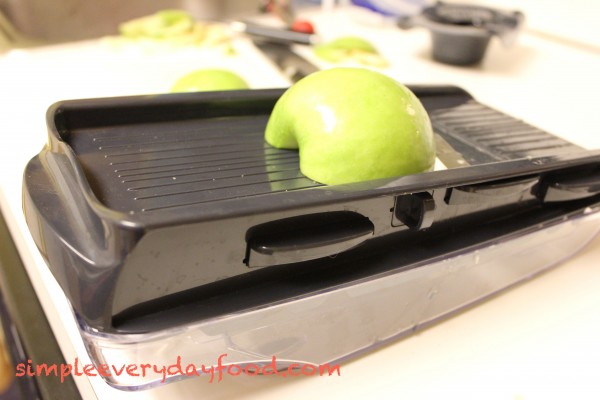
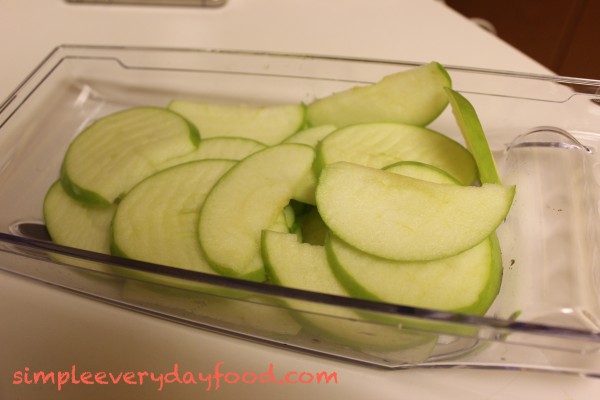
To make the apple slices, I highly recommend using a mandolin. I guess a steady hand and a sharp knife would work too, but using a mandolin is much safer and quicker.

Ingredients:

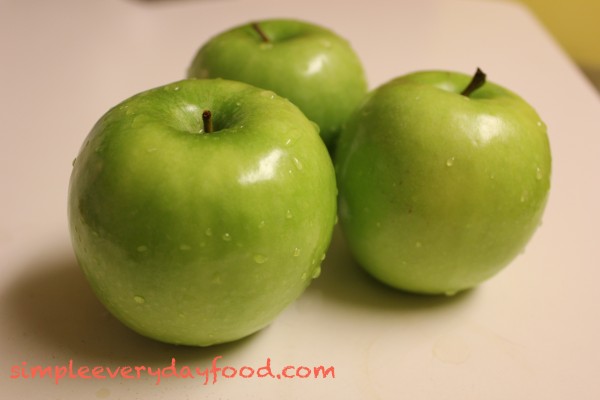
  • 2 Granny Smith apples
  • 4 tablespoons brown sugar
  • 2 tablespoons cinnamonIMG_0586

Directions:

  • Preheat oven to 225 degrees. Line two baking sheets with parchment paper.
  • I’m not a fan of eating apple cores, so I halved my apples and removed the cores before placing them onto the mandolin.IMG_0588
  • In a shallow dish, combine the cinnamon and brown sugar. Mix well.
  • Using the mandolin, slice the apples as thin as possible. Toss them in the cinnamon mixture and make sure they’re all coated with cinnamon and sugar – no one wants that piece with no seasoning on it!IMG_0591
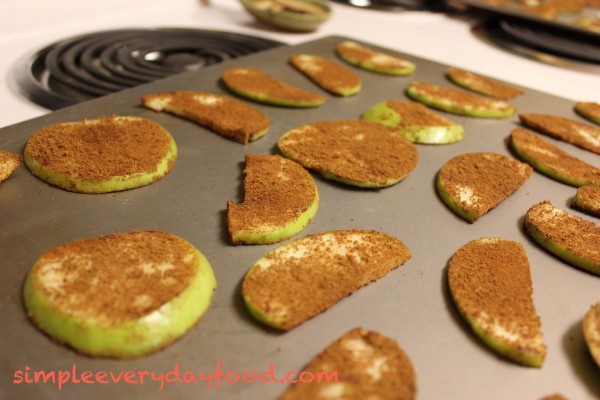
  • Place apple slices on baking sheets and bake for 1 hour.

IMG_0594

I realized I only had about 6″ worth of parchment paper left, so I simply put my apple slices on the baking sheets. The parchment paper will prevent your apples from sticking to your sheet, making your next step easier.  

  • After the first hour, remove sheets from oven and flip the slices over with tongs. Put the sheet that was on the top rack to the bottom rack, and the sheet that was on the bottom rack to the top (for even baking). Bake for another hour.
  • Remove from oven and let cool.

Enjoy!

Recipe adapted from The Italian Dish

Sharing is caring! Email this to someonePrint this pagePin on PinterestShare on YummlyShare on FacebookShare on Google+Tweet about this on Twitter