everyday food made simple

IMG_6908 copy

I don’t know about you, but my summer is flying by right before my eyes. It didn’t seem all that long ago the sun rose and painted the sky a pretty mixture of pinks, purples, and oranges at 5 a.m., it was still bright out at 9 p.m., we grilled burgers and steaks and pork chops every night, and Starbuck’s iced coconut mocha macchiato became my summer jam.

Every year around this time I always look back at my summer bucket list, and every year I realize there are so many things I wanted to do but didn’t accomplish – I wish I went to the farmer’s market more, baked a little more, blogged a little more, spent more days out in the sun, checked off more books off of my list, went to more fairs, and ate more ice cream.

What I did do, however, was make this cake. This amazingly simple, no-oven-required-because-we-all-know-how-hot-it-already-is, cake.
IMG_6807 copy IMG_6840 copy

IMG_6929 copy   

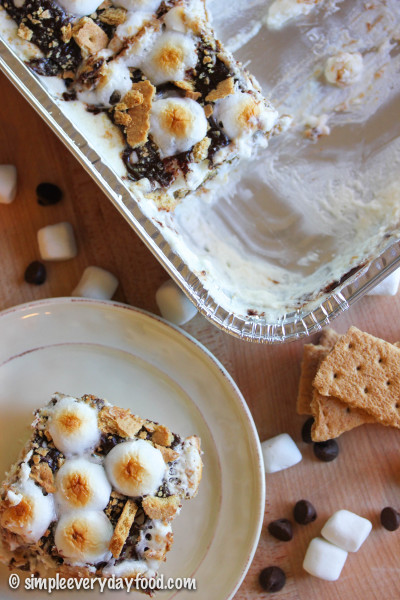
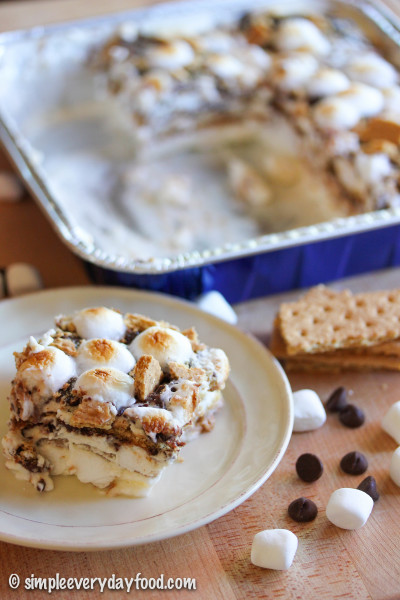
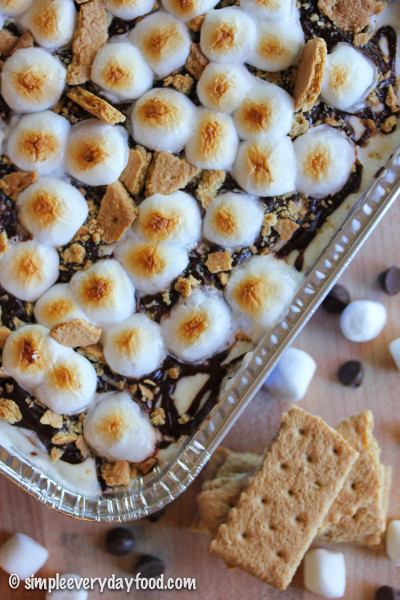
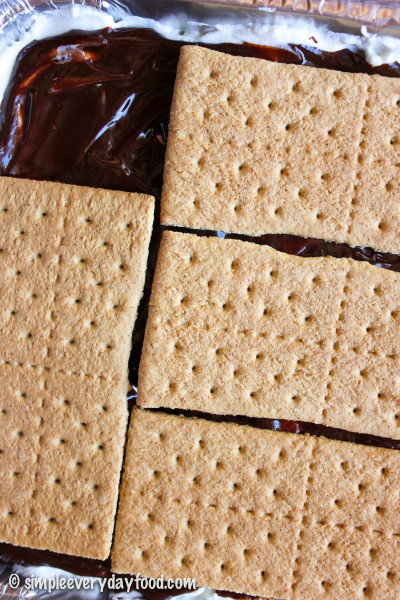
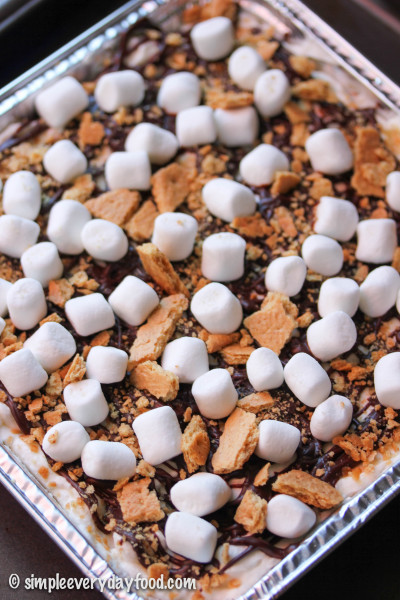
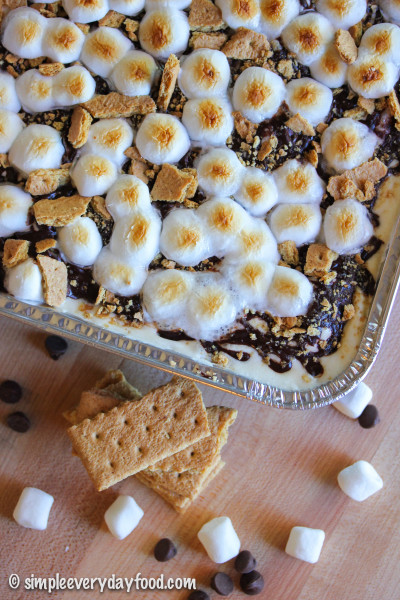
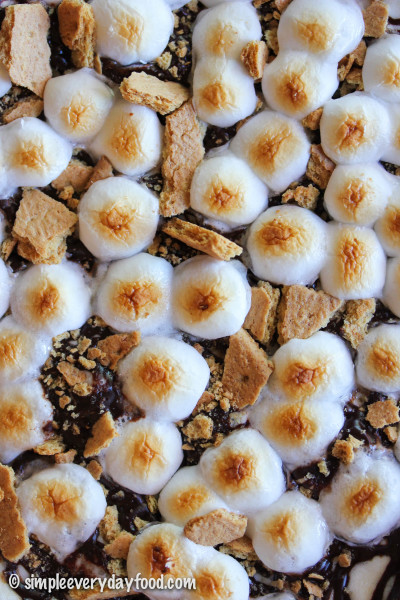
S’mores icebox cake, to be exact. Layers of creamy marshmallow cream on top of sweet chocolate ganache on top of graham crackers, topped off with mini marshmallows that’s broiled to toasty perfection. So so good to where you will want to eat it straight out of the pan when your husband isn’t home.
IMG_6903 copy

IMG_6909 copy

So before summer is over, before the weather starts to cool down, before your kids go back to school, please make this as a last hurrah to summer – I promise you won’t regret it.

s'mores icebox cake
Print
Ingredients
  1. 2 and 3/4 cups heavy cream, divided
  2. 7 oz marshmallow fluff
  3. 1 and 1/2 cups mini marshmallows, divided
  4. 11 oz semisweet chocolate chips
  5. 1 box graham crackers (you probably won't use the entire box)
Make the marshmallow cream
  1. Using a stand or hand mixer, beat 2 cups heavy cream on medium-high for 5 minutes or until stiff peaks form. Add in the marshmallow fluff and continue beating on medium-high speed for another 3 minutes. Gently stir in 1 cup mini marshmallows, set aside.
Make the chocolate ganache
  1. In a small saucepan over medium-low heat, heat the remaining heavy cream until simmering. Remove from heat and pour over chocolate chips in a heat-proof bowl. Let mixture sit for 5 minutes, then stir until combined and smooth.
  2. In a 9x9" baking dish, spread a thin layer of the marshmallow cream on the bottom. Top with a layer of graham crackers. Break the crackers into pieces to make sure all the marshmallow cream is covered. Top with another layer of marshmallow cream, then generously drizzle/spread the ganache over the top. Repeat layers once more, leaving about 1/4" from the top of the pan.
  3. Garnish the top with remaining mini marshmallows, crushed graham cracker pieces, and extra chocolate chips, if desired. Cover with plastic wrap and refrigerate overnight.
  4. Right before serving, turn on your broiler and broil the cake for 1 minute or until marshmallows are brown and toasty. Remove immediately and freeze for 10 minutes to let set and serve. Cake can be stored in the refrigerator in an airtight container for up to 3 days.
  5. Makes one 9x9" pan
Adapted from Delish.com
Simple Everyday Food https://www.simpleeverydayfood.com/
The beautiful thing about this recipe is that you can change up the layers based on what you like more. Want more chocolate? Then add in a few more layers of chocolate ganache. Love graham crackers? Then put it another layer of graham crackers. Whatever you decide to do, it’ll be delicious either way.

IMG_6920 copy

Recipe adapted from Delish

© Simple Everyday Food. All images & content are copyright protected. Please do not use any of my images without prior permission. If you want to republish this recipe, please re-write the recipe in your own words, and kindly link back to this post for the recipe.


Sharing is caring! Email this to someonePrint this pagePin on PinterestShare on YummlyShare on FacebookShare on Google+Tweet about this on Twitter

IMG_3514 copy

Has anyone else been sucked into the World Cup frenzy? Just like any other major international sporting event, the World Cup is one that I always look forward to, and this year was no exception.

My sister and I got into soccer way back in 2002. Unlike the U.S., every time the World Cup rolls around, it’s a big deal in Taiwan – all sorts of World Cup-related merchandise can be seen around every street corner. My sister and I’s favorite team (even til today) is Germany. I remember we’d set our alarms and wake up at 3 a.m. to watch them play. Because we lived in a small apartment, we’d tip toe around the house in the middle of the night, trying to rub the sleepiness away from our eyes, and muting the TV because we were afraid to risk waking up our parents and getting sent back to bed. We’d watch in silence, whispering to each other during the game, and silently cheer on our team. After the game was over, we’d put the remote right where we found it and sneak back into bed, waking up the next morning tired and exhausted (yeah, we had it down to a science).

Sounds crazy, but at that time, it was all so worth it.

For the past two World Cup games, I had to watch them by myself here in the U.S. while my sister caught the games back in Taiwan. We still watch the games, text each other about the results, and cheer on our team together. Some things just never change.

Now, onto this recipe..

IMG_3493 copy

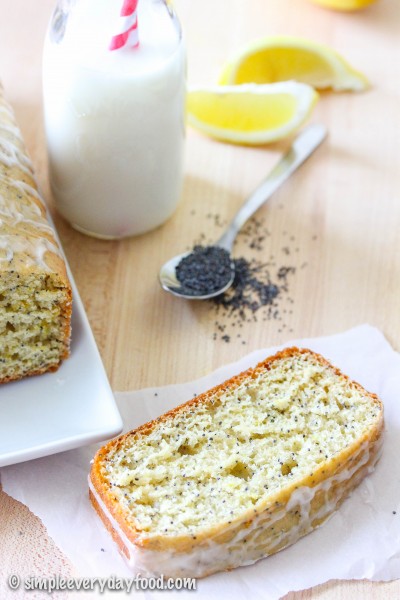
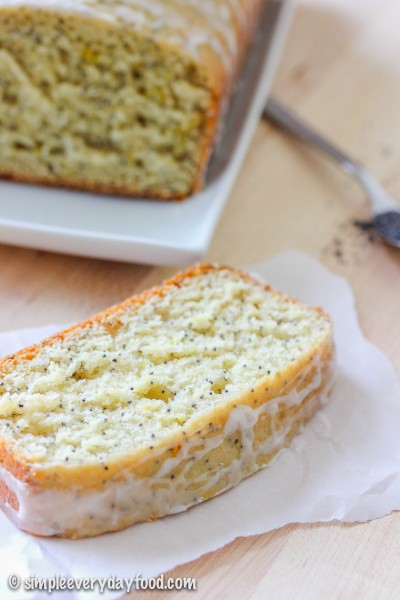
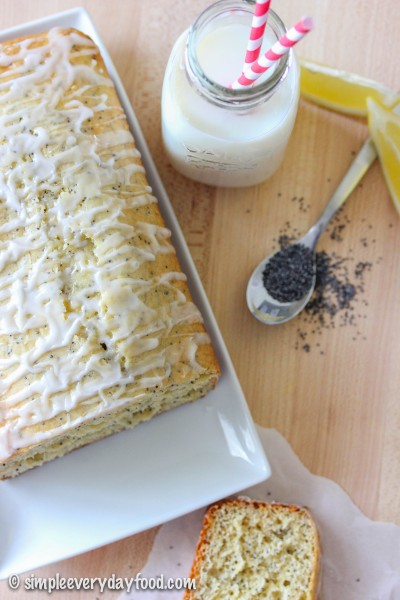
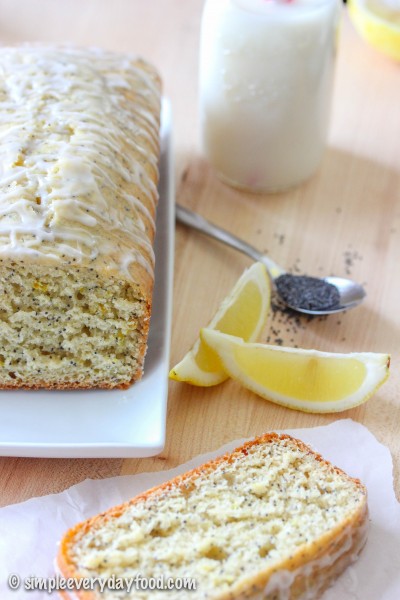
Can I just say how good this loaf cake is? The cake itself is soft and moist, the lemons give it a sweet yet tangy flavor, and the poppy seeds inside almost pops in your mouth. None of the flavors are heavy and overpowering – every component does its part to make this a light, summery recipe. The glaze on top is really optional, although I do highly recommend it as it adds an extra punch of lemon flavor to it, and the fact that no on ever turns down a layer on yummy sugary glaze on top of any kind of dessert.

IMG_3506 copy

The best part? You can eat it for breakfast, as a afternoon (or mid-morning) snack, or even as a light dessert after dinner. I placed it under the “breakfast” category simply because I ate it more for breakfast as opposed to dessert, even though no one ever said you can’t eat cake for breakfast…..

IMG_3497 copy

lemon poppy seed loaf cake
Print
For the cake
  1. 2 cups all-purpose flour
  2. 2 tablespoons poppy seeds
  3. 1 and 1/2 tablespoons lemon zest
  4. 3/4 teaspoon baking powder
  5. 3/4 teaspoon baking soda
  6. 1/4 teaspoon salt
  7. 1 tablespoon vegetable oil
  8. 1 egg, at room temperature
  9. 1 tablespoon vanilla extract
  10. 2/3 cup granulated sugar
  11. 1/3 cup plain Greek yogurt
  12. 2 tablespoons fresh lemon juice
  13. 6 tablespoons milk
For the glaze
  1. 4 tablespoons powdered sugar
  2. 1/4 teaspoon almond extract
  3. 1 teaspoon milk
  4. 1/2 teaspoon lemon zest
Instructions
  1. Preheat oven to 350 degrees. Coat a 9x5" loaf pan with nonstick cooking spray and set aside.
  2. In a medium bowl, whisk together the flour, poppy seeds, lemon zest, baking powder, baking soda, and salt.
  3. In a large bowl, combine the oil, egg, and vanilla extract. Mix to combine. Then whisk in the sugar, yogurt, and lemon juice until thoroughly incorporated. Alternate between adding the flour mixture and the milk (I added 1/3 of the flour, 1/2 of the milk, 1/3 of the flour, 1/2 of the milk, then the remaining 1/3 of the flour).
  4. Pour the batter in the loaf pan and bake for 45-50 minutes, or until an inserted toothpick comes out clean. If you notice the top is browning too fast, cover the pan with a tented tin foil after the first 30-40 minutes.
  5. Cool the pan for at least 15 minutes, then turn onto a wired cooling rack to cool completely.
  6. While the cake is cooling, prepare the glaze by whisking all the glaze ingredients in a small bowl. Drizzle over the top of the cooled caked. Cake may be sliced and stored in an airtight container for up to 5 days.
Adapted from Amy's Healthy Baking
Simple Everyday Food https://www.simpleeverydayfood.com/
Recipe adapted from Amy’s Healthy Baking

© Simple Everyday Food. All images & content are copyright protected. Please do not use any of my images without prior permission. If you want to republish this recipe, please re-write the recipe in your own words, or kindly link back to this post for the recipe.

Sharing is caring! Email this to someonePrint this pagePin on PinterestShare on YummlyShare on FacebookShare on Google+Tweet about this on Twitter

Have you ever looked at a recipe and just knew it was going to turn out to be delicious?

Well, a few weeks ago I got that feeling and it took me by surprise – I never like to get too overconfident when I’m in the kitchen just to avoid the disappointing letdown if something doesn’t turn out the way I had it pictured in my head. However…. when I saw this recipe, something in my head told me it was going to turn out great – so great that I needed to make two of them so I can bring one to work to share with my coworkers.

I’m glad to tell you that that little voice in my head was right, and I’m sooooo incredibly glad that I made two coffee cakes. I know those coworkers that got to try it were glad I made two also!

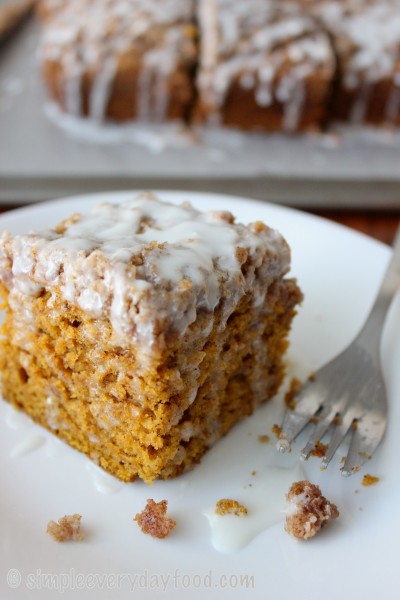
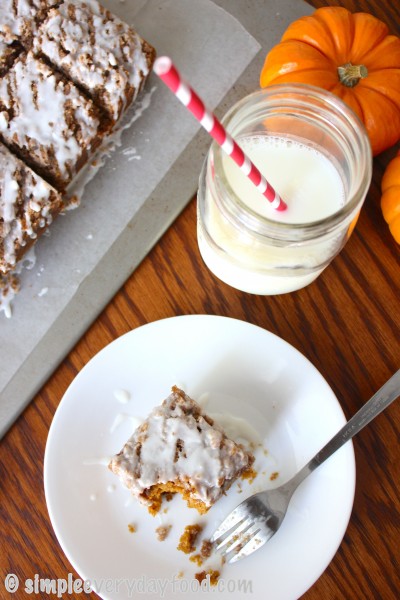
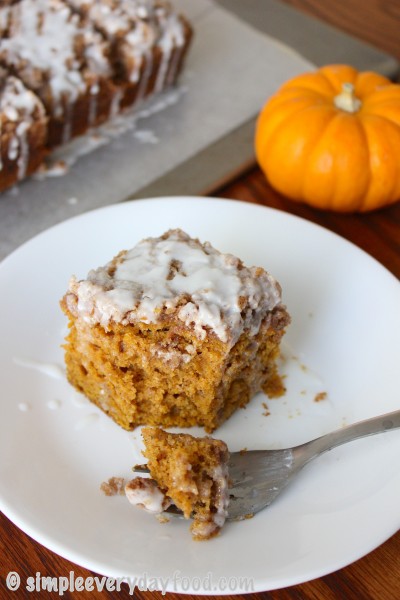
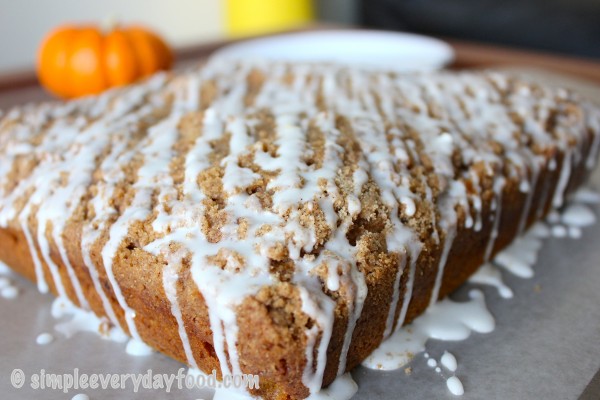
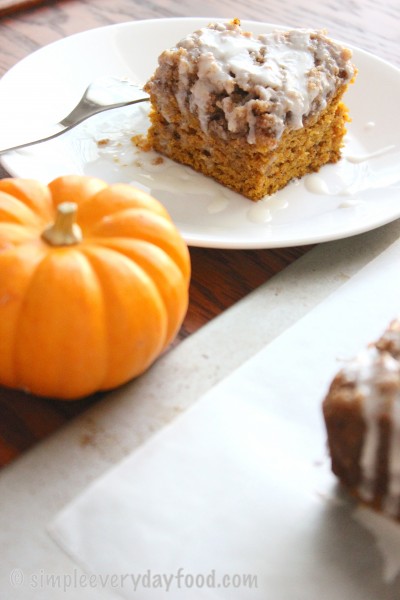
Enter Part 4 of my latest obsession with pumpkin desserts – a rich, moist pumpkin coffee cake complete with a thick, crumbly layer of streusel topping and a vanilla glaze.

IMG_1855 copy

When I had my mind set on making two of these cakes, I pre-measured the streusel ingredients (minus the butter) and dry ingredients into separate tupperware bowls the night before, just to make my life easier when I’m ready to make them the next day. I have to say, it really did save me quite a bit of time on baking day, because all I had left to do was to measure out the wet ingredients and add the two together. I’m totally going to be prepping this way from now on!

These cakes were also made with a little love from Brian… here’s the story: when I decided on making two cakes, I realized that we would be short of pumpkin puree and ground cloves. The syrup we had on hand also expired August of 2011… so I sent him to Target to pick things up for me while I got things ready. You know baking season is in full swing when Target has absolutely no ground cloves whatsoever. None. So being the loving husband that he is, he drove to Wal-Mart just to get me the ground cloves that I needed. That deserves a pat on the back in my book :)

IMG_1863 copy

IMG_1881 copy

glazed pumpkin coffee cake
Print
For the streusel
  1. 1/2 cup all-purpose flour
  2. 1/4 cup cold unsalted butter
  3. 1/2 cup light brown sugar
  4. 1/4 teaspoon salt
  5. 2 teaspoons ground cinnamon
For the cake
  1. 2 cups flour
  2. 1 teaspoon baking soda
  3. 1/2 teaspoon baking powder
  4. 1/2 teaspoon salt
  5. 2 teaspoons ground cinnamon
  6. 1/2 teaspoon ground nutmeg
  7. 1/4 teaspoon ground cloves
  8. 1 cup pumpkin puree
  9. 1/2 cup light brown sugar
  10. 1/2 cup vegetable oil
  11. 1/4 cup maple syrup
  12. 1/4 cup milk
For the glaze
  1. 1 cup powdered sugar
  2. 1-2 tablespoons pumpkin spice coffee creamer or milk
Instructions
  1. Preheat the oven to 350 degrees. Spray a 9x9 baking pan with nonstick spray and set aside.
Make the streusel
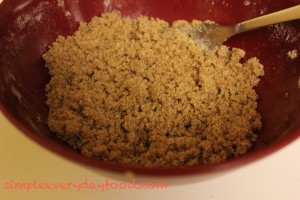
  1. Combine the flour, brown sugar, salt, and cinnamon together in a small bowl. Using a pastry cutter or a fork, add in the cold butter and mix until you get pea-sized clumps of butter. Set aside.
Make the cake
  1. In a large bowl, add in the flour, baking soda, baking powder, salt, cinnamon, nutmeg, and cloves. Mix until combined. Using a medium bowl, add in the pumpkin, brown sugar, oil, maple syrup, and milk. Mix. Add the wet ingredients to the dry ingredients and mix until combined. Do not overmix.
  2. Pour the batter into the baking pan, spreading out the batter with a spatula to create an even surface. Generously sprinkle the streusel topping onto the cake, pressing them slightly down into the batter.
  3. Bake the cake for 30 minutes, or until an inserted toothpick comes out clean. Remove the cake from the oven and let cool.
Make the glaze
  1. While the cake is cooling, make the glaze by whisking the powdered sugar and 1 tablespoon of creamer/milk together until smooth. If it's too thick, add another tablespoon of creamer/milk. Add more creamer/milk until desired consistency is reached. Drizzle over cake and enjoy!
  2. Store cake in an airtight container for up to 5 days.
Adapted from Sally's Baking Addiction
Simple Everyday Food https://www.simpleeverydayfood.com/
IMG_1872 copy

When you mix everything up, the batter will be thick – don’t panic! That’s totally normal and it’ll turn out great in the end, trust me. What makes the dessert over-the-top amazing is the thick layer of streusel topping. I think I could probably bake a whole cake pan of the streusel and be okay with it. If you have pumpkin spice creamer on hand (which I did), use that instead of milk to make the glaze  for a more intense pumpkin flavor! If you don’t have pumpkin creamer, you don’t have to go out and buy a whole bottle of it – using milk would work just fine too. Depending on how thick/thin you like your icing, add less/more milk to the powdered sugar accordingly. I went a little pumpkin-creamer-happy on one and the glaze turned out to be a little thinner than I would’ve liked. Either way, it’s not going to affect the taste or texture of your cake – it’s just a matter of personal preference.

Vanilla glaze dripping down the sides… don’t you want to just reach through the screen and catch some of that glaze with your finger?!

IMG_1856 copy

IMG_1878 copy

This cake can either be served warm or at room temperature, so there’s no need to wait for it to cool! It’s a good thing no cooling is required, otherwise I would probably have to leave the house for an hour so I wouldn’t be tormented by constant wafts of delicious smells!

Happy baking!

Recipe adapted from Sally’s Baking Addiction

© Simple Everyday Food. All images & content are copyright protected. Please do not use any of my images without prior permission. If you want to republish this recipe, please re-write the recipe in your own words, or kindly link back to this post for the recipe.

Sharing is caring! Email this to someonePrint this pagePin on PinterestShare on YummlyShare on FacebookShare on Google+Tweet about this on Twitter

So for the longest time, I thought “coffee cake” contained coffee… until I came across this recipe. Apparently, “coffee cake” got its name from:

  1. being served alongside with coffee as a gesture of hospitality when you have guests over, or
  2. eaten during a coffee break

Ha! Silly me. I guess you learn something new everyday.

In my defense, every time I see a cake in the form of “coffee cake”, the name only calls it “blah blah blah cake“. Not “blah blah blah coffee cake“.

Since we’ve been on a “healthy diet” for the past two weeks, I only found it fair to reward ourselves with something sweet and healthy at the same time – blueberries are good for you even in dessert, right? Anyway… this coffee cake is delicious and it’s really simple to make.  I didn’t even bother using my KitchenAid mixer for it because it really didn’t require a whole lot of mixing. There are a few steps that you need to do before assembling the whole cake together, but trust me, it’s totally worth it (not to mention how amazing your house smells while it’s baking!).

Ingredients:

  • For the struesel:
    • 1/4 cup brown sugar
    • 1/4 cup granulated white sugar
    • 1/4 cup flour
    • 3 tablespoons butter, at room temperature
    • 1 teaspoon cinnamon
  • For the cake:
    • 1.5 cups all-purpose flour
    • 2.5 teaspoons baking powder
    • 1/2 teaspoons salt
    • 1 egg, beaten
    • 3/4 cup white sugar
    • 1/3 cup butter, melted
    • 1/2 cup milk
    • 1 teaspoon vanilla extract
    • 1.5 cups frozen blueberries

Directions:

  • Preheat oven at 375 degrees
  • Grease and flour a cake pan or loaf pan – I used a 5 x 9″ loaf pan

IMG_0515

  • Combine the ingredients for the streusel topping until crumbly, set aside – some people prefer to mash the butter up with a fork.. I find it way easier to crumble and mix everything up with my hands. Don’t be afraid to roll up your sleeves and get your hands dirty!

IMG_0510

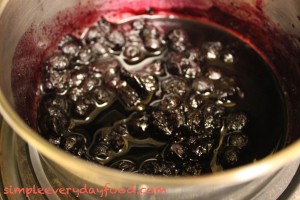
  • In a small saucepan on medium heat, combine 1 cup of the frozen blueberries with 1 teaspoon of sugar. Stir constantly while mashing up the blueberries with a spoon to release all the juice. Heat until the liquid has thickened. Remove from heat. Once cooled, strain the blueberry syrup mixture into a bowl so you’re only left with the syrup. This may take some patience since the syrup is slightly thicker and may take some time to get through the strainer. You should end up with a couple tablespoons of liquid.

IMG_0509

IMG_0511

  • In a bowl, sift together the flour, baking powder, and salt. In a separate bowl, add the sugar to the beaten egg, then add the melted butter. Add milk and vanilla. Then mix in the flour mixture.
  • Pour about half the batter into the greased and floured pan. Add the remaining 1/2 cup of frozen blueberries, then top with half of the streusel.

IMG_0517

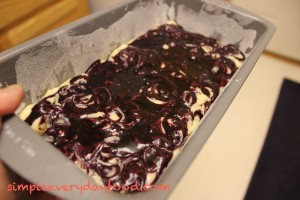
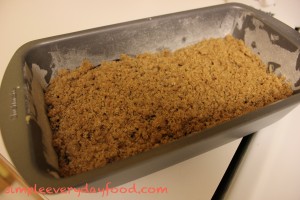
  • Top with remaining batter and drizzle the strained blueberry syrup over the top. Swirl with a toothpick to mix in the syrup with the batter. Top with remaining streusel.

IMG_0521

IMG_0523

  • Bake for 35-45 minutes, or until a toothpick comes out clean.
  • Cool on wire rack. Serve and enjoy!

My husband was too eager to cut into the cake and try some, so I wasn’t able to get a picture of the finished product. Just an excuse to make it again in the future! Here is, however, a picture of my clean plate!

IMG_0524

Our house smelled just like a Cinnabon factory. I can’t wait to make this in the summer time with all the windows open, just to see how many people I can get to gather outside our house! Ha! :)

Recipe adapted from Just A Pinch Recipes

Sharing is caring! Email this to someonePrint this pagePin on PinterestShare on YummlyShare on FacebookShare on Google+Tweet about this on Twitter