everyday food made simple

IMG_3185 copy 

It’s funny how fast our body adjusts to a new routine. Just two months ago, I was used to going to bed at 2:30 a.m. and sleeping in until at least 10:30. By the time I finally get myself out of bed, it’s usually around 11. Back then, I didn’t have to work until 5 p.m. so on the days I actually eat breakfast (I had a bad habit of drinking coffee for breakfast), I took my time making something delicious and nutritious… usually some sort of an egg sandwich or scrambled eggs with a side of greens and some rice.

Just one month into my new job, the only time I get to spend my sweet time deciding on what to have (or not have) for breakfast now are the weekends. My new job requires me to be up at 4:00 a.m… keep in mind that before February 3rd, 2014, I have never gotten up at 4 a.m. for anything. This whole “getting up early in the morning” thing has been brand new for me. I have also realized that at 4 a.m., neither my mind nor my body are awake enough to even lift a frying pan to cook anything on the stove. This is why this past weekend, I decided to make a batch of easy breakfast muffins as a quick and easy breakfast option. These are especially helpful on the days where I end up hitting the snooze button 9 times, as it can easily be packed in my lunchbox for me to eat once I get to work.
IMG_3178 copy

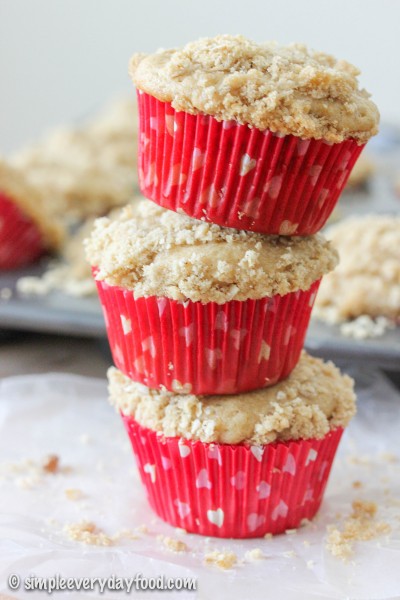
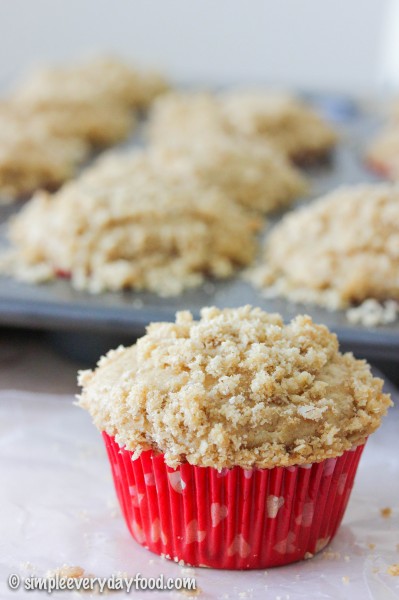
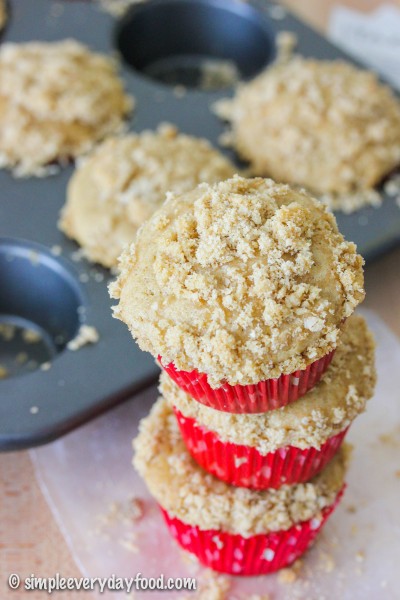
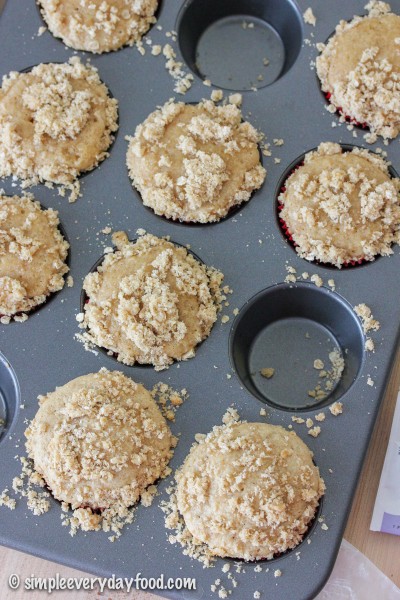
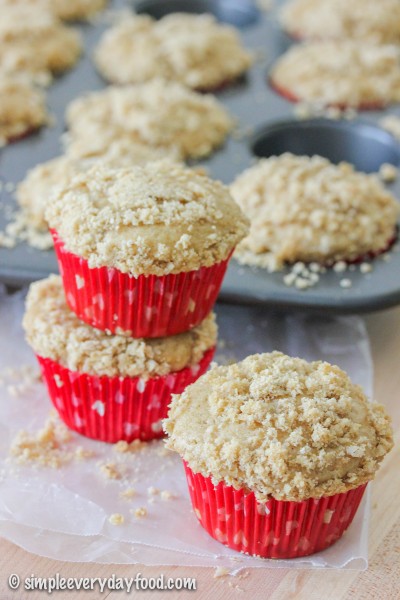
Today I present to you: earl grey breakfast muffins with a streusel topping. That’s right, you’ve heard read correctly – on top of these spongy soft muffins lays a generous layer of crunchy, buttery, sweet streusel topping, because let’s face it – muffins are good, but muffins with streusel topping? Even better.
IMG_3193 copy

IMG_3176 copy

You know what’s even better? The fact that these muffins can easily be made without a mixer. Just a few bowls, a spatula/whisk, and some arm strength is all that’s required. Now I’m going to share a little secret: the key to making the batter is to make sure that all your ingredients are at room temperature... this includes your eggs and sour cream and everything else. I melted my butter and brewed my earl grey tea around the same time, and let both of them sit to cool for at least 20 minutes until it’s no longer warm to the touch. During this time, I occupied myself with catching up with my Instagram feed, picking up a dozen dog toys off the living room floor, vacuuming, and reading a few pages of my new book (The Goldfinch).

Once all the components are ready, the mixing and assembly literally only takes about 10-15 minutes, then bake these in the oven until an inserted toothpick comes out clean. This took 24 minutes in our oven, but every oven is different so start keeping an eye on it around the 20 minute mark.

IMG_3186 copy

Because these muffins freeze well, I divided these them into two batches – one for now and one for later. I kept about half on the counter and literally snacked on them all day, while the other half was stored in an airtight container in the freezer… you know, for mornings where you’d rather trade “time to eat breakfast on the couch” with “10 more minutes of sleep under some warm covers” (which for me, is almost everyday). If you’re anticipating a busy morning, take a few of these out to thaw overnight. Otherwise pop them in the microwave for half a minute or so, or until they’re warm and ready to eat.

The fact that there’s a slight hint of earl grey tea in it also makes me think it’ll keep me going in the morning since it technically contains a small amount of caffeine. It’s all mental, I tell ya.
IMG_3188 copy

earl grey breakfast muffins
Print
For the streusel
  1. 2/3 quick cooking oats
  2. 2/3 cup brown sugar
  3. 2/3 cup all-purpose flour
  4. 1/4 teaspoon salt
  5. 5 tablespoons cold butter, cut into cubes
For the muffin batter
  1. 2 cups all purpose flour
  2. 1 teaspoon baking powder
  3. 1/2 teaspoon cinnamon
  4. 1/2 teaspoon salt
  5. 1/4 teaspoon baking soda
  6. 3 large eggs, at room temperature
  7. 3/4 cup granulated sugar
  8. 1/2 cup (1 stick) butter, melted
  9. 3/4 cup sour cream
  10. 1/3 cup strongly brewed Earl grey tea
  11. 1 teaspoon vanilla extract
To make the streusel
  1. Combine the oats, brown sugar, flour, and salt in a medium sized bowl. Using a pastry cutter or two forks, work in the cold butter until the mixture resembles coarse crumbs (I found it easier to use my hands to mix everything together after initially incorporating the ingredients with a pastry cutter). Set aside.
To make the batter
  1. Preheat the oven to 350 degrees. Line approximately 16 muffin tins with liners.
  2. In a medium-sized bowl, combine the flour, baking powder, cinnamon, salt, and baking soda. Stir until combined.
  3. In another larger bowl, whisk the sugar and butter until mixed. Then add the eggs, one at a time, until combined. Then add in the sour cream, Earl grey tea, and vanilla extract. Stir some more. Then slowly add in the flour mixture and mix until everything is thoroughly incorporated.
  4. Scoop batter into muffin tins about 1/2-3/4 full. Top with a generous amount of the streusel topping. Bake for 22-24 minutes, or until an inserted toothpick comes out clean. Store an an airtight container for up to 5 days (or put them in a freezer and simply thaw out in room temperature for a later date).
  5. Makes 16 muffins
Adapted from Food Network Magazine
Simple Everyday Food https://www.simpleeverydayfood.com/
Recipe adapted from Food Network Magazine

© Simple Everyday Food. All images & content are copyright protected. Please do not use any of my images without prior permission. If you want to republish this recipe, please re-write the recipe in your own words, or kindly link back to this post for the recipe.

Sharing is caring! Email this to someonePrint this pagePin on PinterestShare on YummlyShare on FacebookShare on Google+Tweet about this on Twitter

Have you ever looked at a recipe and just knew it was going to turn out to be delicious?

Well, a few weeks ago I got that feeling and it took me by surprise – I never like to get too overconfident when I’m in the kitchen just to avoid the disappointing letdown if something doesn’t turn out the way I had it pictured in my head. However…. when I saw this recipe, something in my head told me it was going to turn out great – so great that I needed to make two of them so I can bring one to work to share with my coworkers.

I’m glad to tell you that that little voice in my head was right, and I’m sooooo incredibly glad that I made two coffee cakes. I know those coworkers that got to try it were glad I made two also!

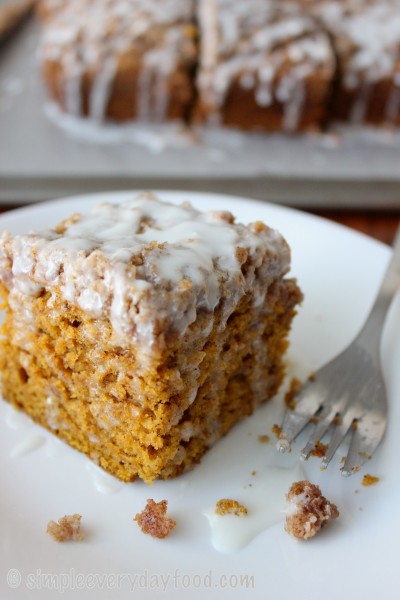
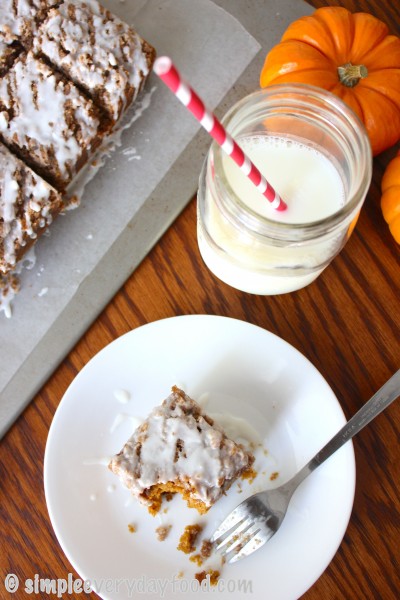
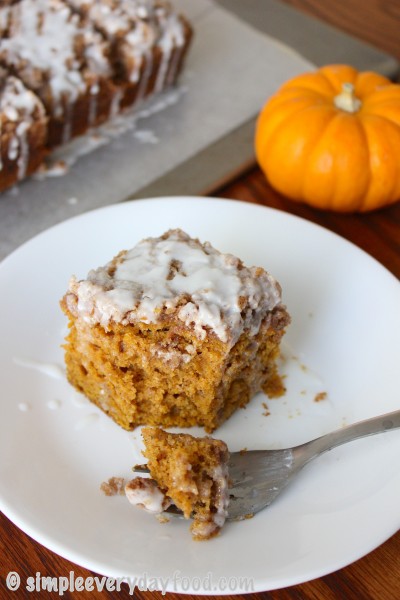
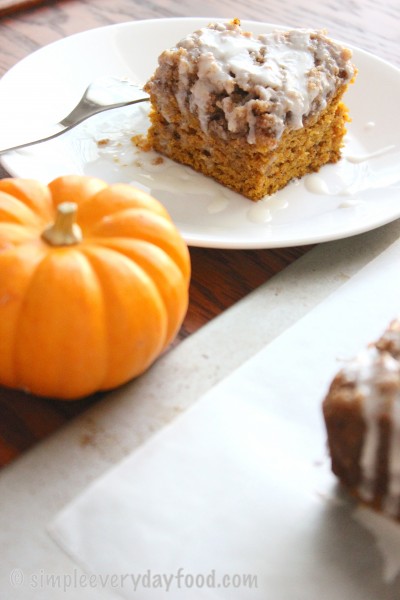
Enter Part 4 of my latest obsession with pumpkin desserts – a rich, moist pumpkin coffee cake complete with a thick, crumbly layer of streusel topping and a vanilla glaze.

IMG_1855 copy

When I had my mind set on making two of these cakes, I pre-measured the streusel ingredients (minus the butter) and dry ingredients into separate tupperware bowls the night before, just to make my life easier when I’m ready to make them the next day. I have to say, it really did save me quite a bit of time on baking day, because all I had left to do was to measure out the wet ingredients and add the two together. I’m totally going to be prepping this way from now on!

These cakes were also made with a little love from Brian… here’s the story: when I decided on making two cakes, I realized that we would be short of pumpkin puree and ground cloves. The syrup we had on hand also expired August of 2011… so I sent him to Target to pick things up for me while I got things ready. You know baking season is in full swing when Target has absolutely no ground cloves whatsoever. None. So being the loving husband that he is, he drove to Wal-Mart just to get me the ground cloves that I needed. That deserves a pat on the back in my book :)

IMG_1863 copy

IMG_1881 copy

glazed pumpkin coffee cake
Print
For the streusel
  1. 1/2 cup all-purpose flour
  2. 1/4 cup cold unsalted butter
  3. 1/2 cup light brown sugar
  4. 1/4 teaspoon salt
  5. 2 teaspoons ground cinnamon
For the cake
  1. 2 cups flour
  2. 1 teaspoon baking soda
  3. 1/2 teaspoon baking powder
  4. 1/2 teaspoon salt
  5. 2 teaspoons ground cinnamon
  6. 1/2 teaspoon ground nutmeg
  7. 1/4 teaspoon ground cloves
  8. 1 cup pumpkin puree
  9. 1/2 cup light brown sugar
  10. 1/2 cup vegetable oil
  11. 1/4 cup maple syrup
  12. 1/4 cup milk
For the glaze
  1. 1 cup powdered sugar
  2. 1-2 tablespoons pumpkin spice coffee creamer or milk
Instructions
  1. Preheat the oven to 350 degrees. Spray a 9x9 baking pan with nonstick spray and set aside.
Make the streusel
  1. Combine the flour, brown sugar, salt, and cinnamon together in a small bowl. Using a pastry cutter or a fork, add in the cold butter and mix until you get pea-sized clumps of butter. Set aside.
Make the cake
  1. In a large bowl, add in the flour, baking soda, baking powder, salt, cinnamon, nutmeg, and cloves. Mix until combined. Using a medium bowl, add in the pumpkin, brown sugar, oil, maple syrup, and milk. Mix. Add the wet ingredients to the dry ingredients and mix until combined. Do not overmix.
  2. Pour the batter into the baking pan, spreading out the batter with a spatula to create an even surface. Generously sprinkle the streusel topping onto the cake, pressing them slightly down into the batter.
  3. Bake the cake for 30 minutes, or until an inserted toothpick comes out clean. Remove the cake from the oven and let cool.
Make the glaze
  1. While the cake is cooling, make the glaze by whisking the powdered sugar and 1 tablespoon of creamer/milk together until smooth. If it's too thick, add another tablespoon of creamer/milk. Add more creamer/milk until desired consistency is reached. Drizzle over cake and enjoy!
  2. Store cake in an airtight container for up to 5 days.
Adapted from Sally's Baking Addiction
Simple Everyday Food https://www.simpleeverydayfood.com/
IMG_1872 copy

When you mix everything up, the batter will be thick – don’t panic! That’s totally normal and it’ll turn out great in the end, trust me. What makes the dessert over-the-top amazing is the thick layer of streusel topping. I think I could probably bake a whole cake pan of the streusel and be okay with it. If you have pumpkin spice creamer on hand (which I did), use that instead of milk to make the glaze  for a more intense pumpkin flavor! If you don’t have pumpkin creamer, you don’t have to go out and buy a whole bottle of it – using milk would work just fine too. Depending on how thick/thin you like your icing, add less/more milk to the powdered sugar accordingly. I went a little pumpkin-creamer-happy on one and the glaze turned out to be a little thinner than I would’ve liked. Either way, it’s not going to affect the taste or texture of your cake – it’s just a matter of personal preference.

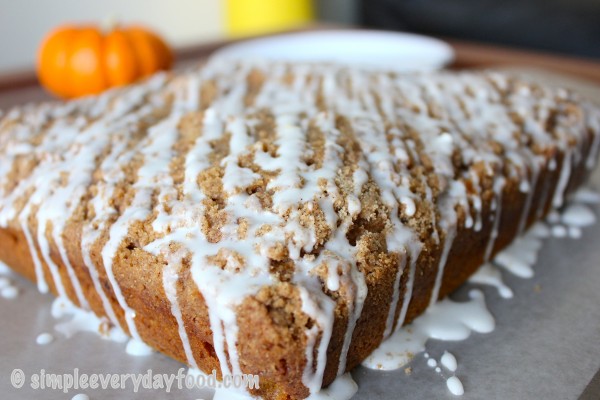
Vanilla glaze dripping down the sides… don’t you want to just reach through the screen and catch some of that glaze with your finger?!

IMG_1856 copy

IMG_1878 copy

This cake can either be served warm or at room temperature, so there’s no need to wait for it to cool! It’s a good thing no cooling is required, otherwise I would probably have to leave the house for an hour so I wouldn’t be tormented by constant wafts of delicious smells!

Happy baking!

Recipe adapted from Sally’s Baking Addiction

© Simple Everyday Food. All images & content are copyright protected. Please do not use any of my images without prior permission. If you want to republish this recipe, please re-write the recipe in your own words, or kindly link back to this post for the recipe.

Sharing is caring! Email this to someonePrint this pagePin on PinterestShare on YummlyShare on FacebookShare on Google+Tweet about this on Twitter